
This post may contain affiliate links. Read our disclosure policy here.
Another addition to our series, Cooking Through my Grandmother’s Recipe Box, Homemade pie crust is a staple recipe in the home cook’s kitchen. Elevate your desserts by learning how to make this extremely simple recipe and impress your family and friends with the difference it makes in the quality of your desserts.
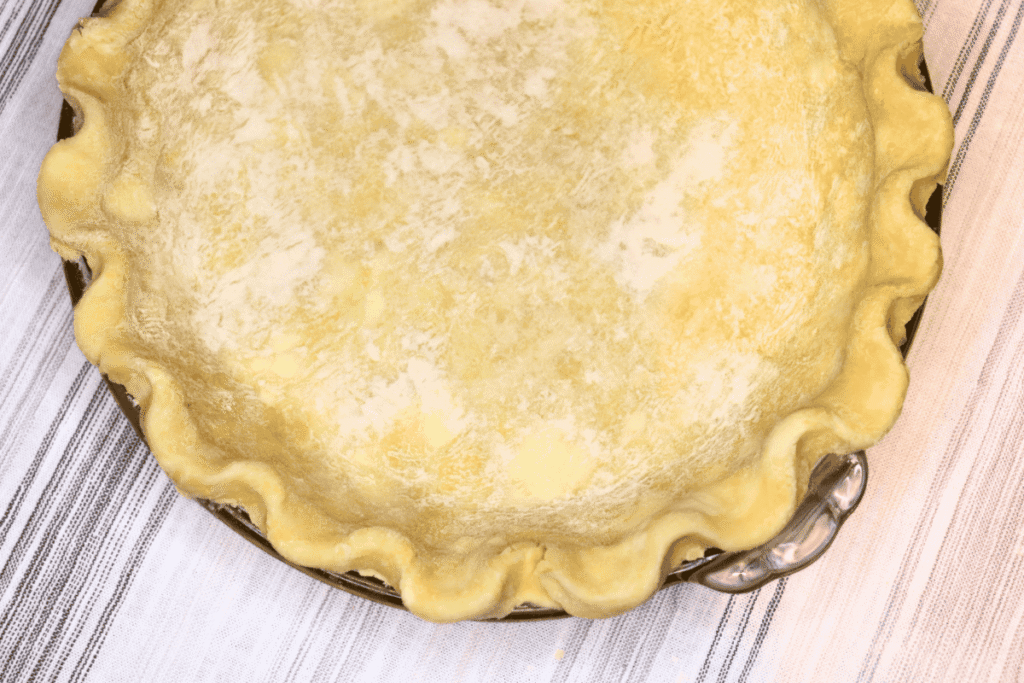
Making your own pie crust is a dying art in the home, and it’s sad because it is so simple! There’s something about getting your hands in the dough and shaping out your crust that brings a satisfaction and pride to your completed dish. Not to mention, the taste is incomparable to store-bought crusts.
I will never forget the days my mom was making homemade pies in the kitchen, not only because it meant we were about to have pie (yum), but also because it meant she was going to make “King Snacks”, a pre-dessert my mom baked with the offings from the crust. It somehow became a childhood tradition that when my mom made pie crust, my siblings and I played “King and Queen” at the kitchen table while eating the baked scraps covered in cinnamon and sugar. I always played the princess getting kidnapped, the beggar on the floor asking for bread morsels, or the court jester that would be beheaded if I wasn’t funny enough for my eldest brother, the king. What memories.
But that’s the sweet thing about home-cooking. Besides all of the obvious benefits of saving money, having better health, and what not, it creates sweet memories and connection with your family.
Why You’ll Want This Recipe
Easy to make: Pie crust is one of the easiest pastry doughs to make. It takes as little as 10-15 minutes once you get the knack for rolling and shaping. I have made at least 30 pie crusts in a single afternoon, if not more.
Buttery Texture: Skip the Crisco and opt for butter. This is the one change I made to my grandmother’s recipe because it is not only much better for your health, but also gives the crust a buttery flavor.
Versatile: Pie crusts are not only used for sweets and pies. I use this recipe for cobblers, chicken pot pie, empanadas, and more. It’s a great standard crust for sweet or savory fillings.
Ingredients
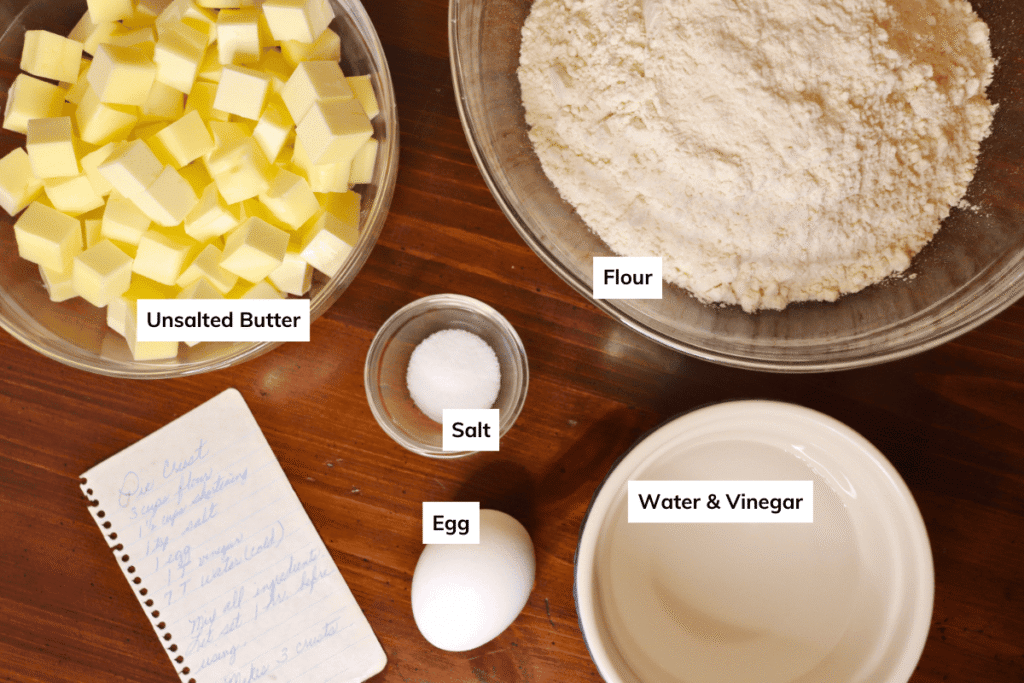
Unsalted Butter – If you’ve always made pie crust with shortening (aka Crisco or Oleo), then it’s time for a change. Butter is a key ingredient in homemade pie crust that will greatly enhance its flavor. It is also much healthier.
White Vinegar – An unexpected ingredient, vinegar works to inhibit gluten development in the crust, giving it a lighter and flakier texture.
Tools You May Need
Pastry Cutter – You can also use a fork if you don’t have one of these, but it’s a great and inexpensive tool used to get a flaky crust.
Rolling Pin
How to Make Homemade Pie Crust
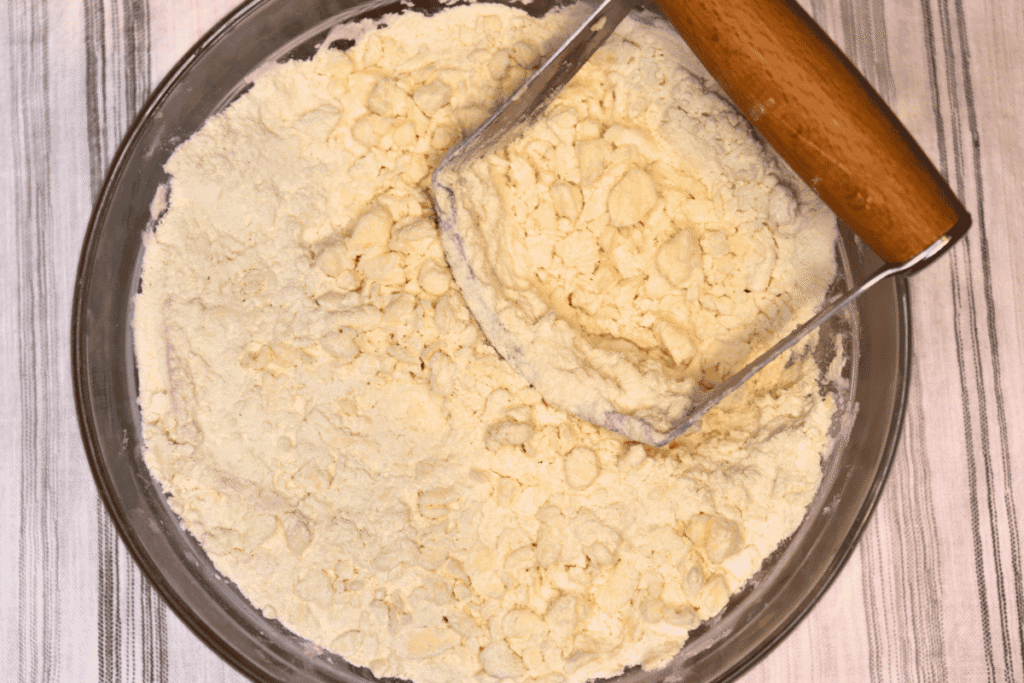
Step 1: In a large mixing bowl, combine the salt and flour together. Cut slightly cold (not softened) butter into cubes and add to the flour mixture. Using a pastry cutter or fork cut the butter into the flour. You want the butter to end up mixed into the flour in lots of small pieces. If you leave large pieces, you will have pockets of butter in your crust, resulting in a weak and uneven crust.
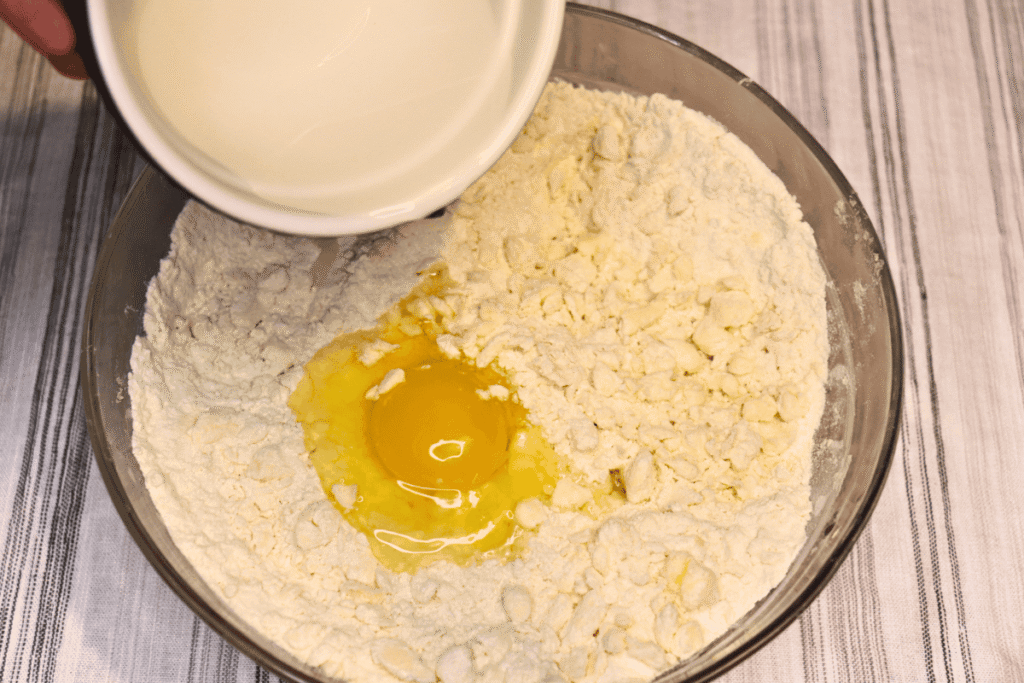
Step 2: Next, mix in the egg, water, and white vinegar to form your dough. You may see small bits of butter, but as long as they aren’t too large, you’re going to be fine.
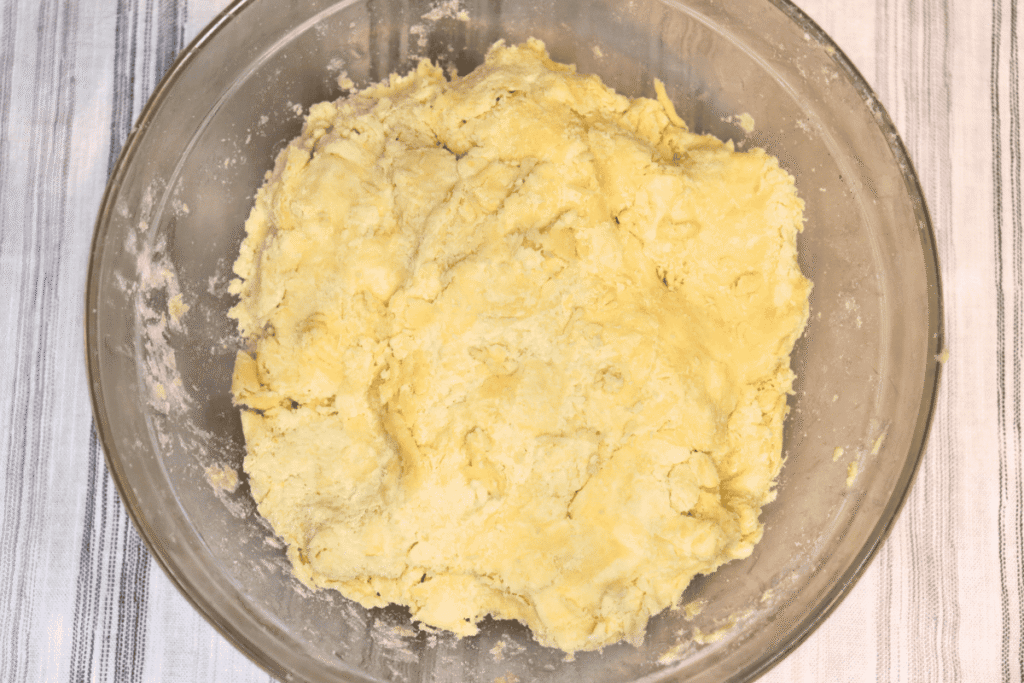
Step 3: (Optional, but highly recommended) Cover your dough and let it set in the fridge for one hour. This will allow the gluten to relax and make for a stronger crust and an easier time rolling and shaping.
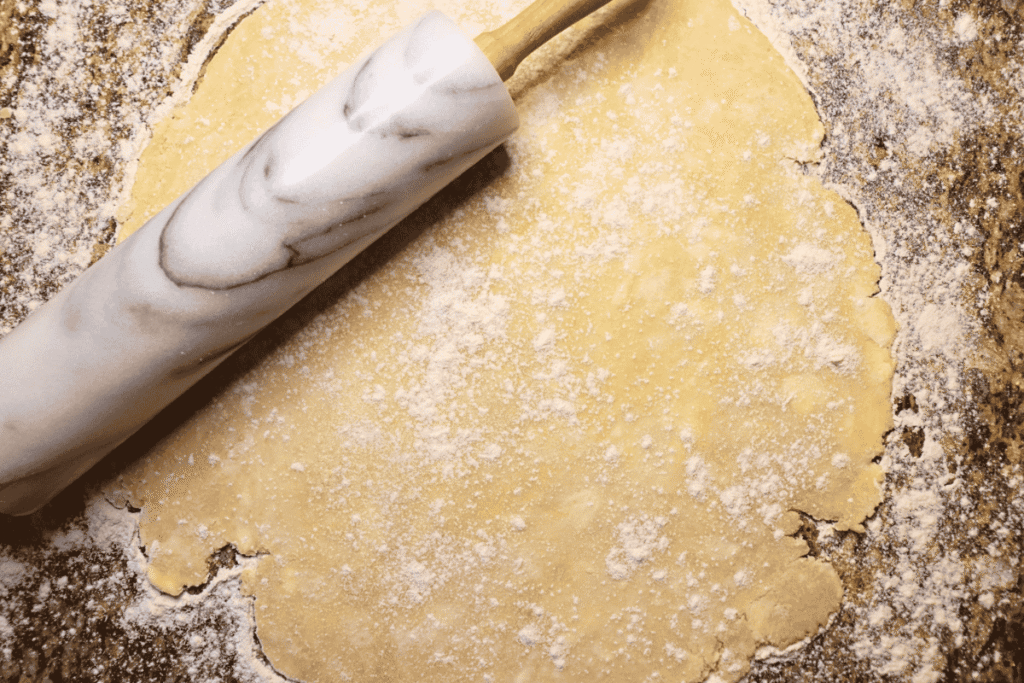
Step 4: Roll out your pie crust on a lightly floured surface such as a clean and dry countertop. You want your final product to be larger than your pie pan to account for the edges and around 1/8-1/4 of an inch thick.
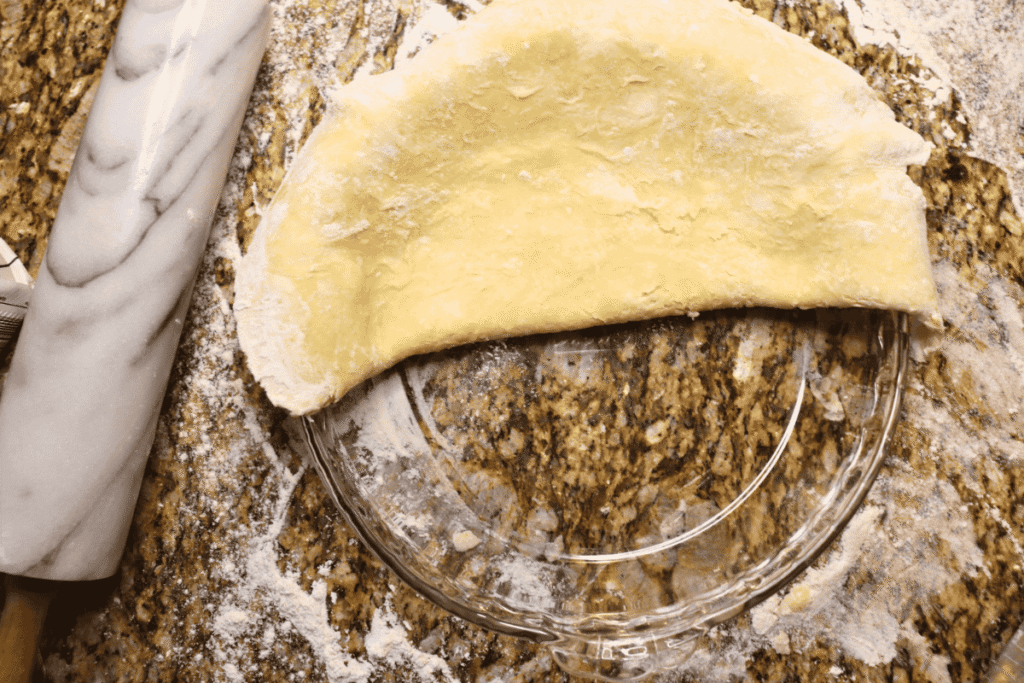
Step 5: Carefully fold your crust in half and transfer it to your pie dish, then unfold it. You want about one inch of extra pie crust hanging over the rim of the pie pan. Any extra can be torn off and reserved for baked snacks (see King Snack recipe below!)
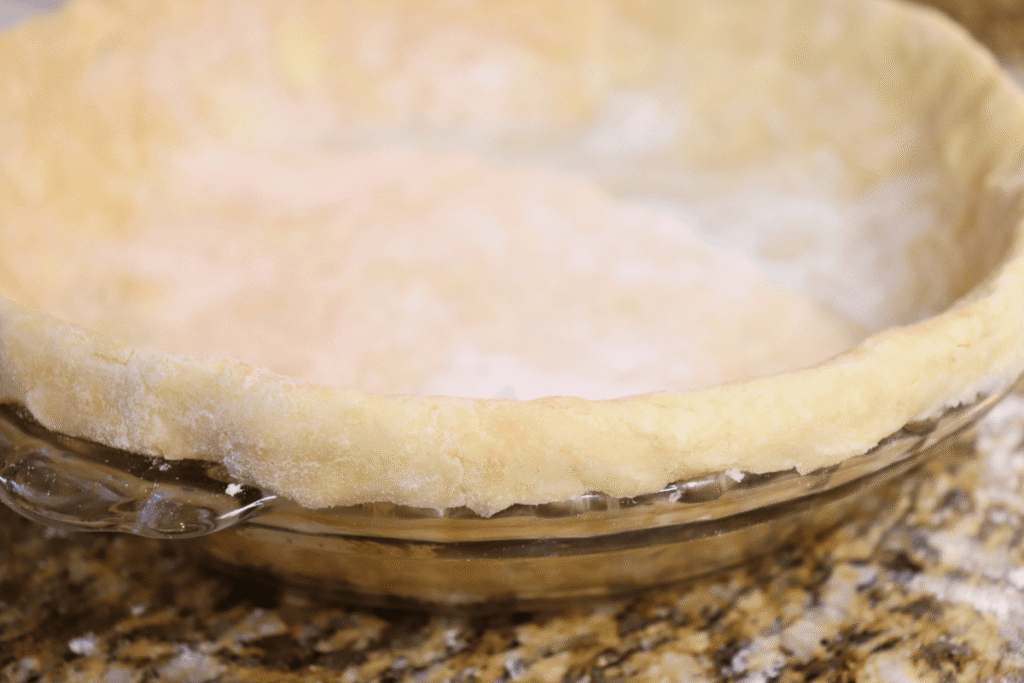
Step 6: Take the extra crust around the edges and roll it towards the rim, tucking it under the edge of the crust and gently pinching it into place.
How to Crimp the Edges of a Pie Crust
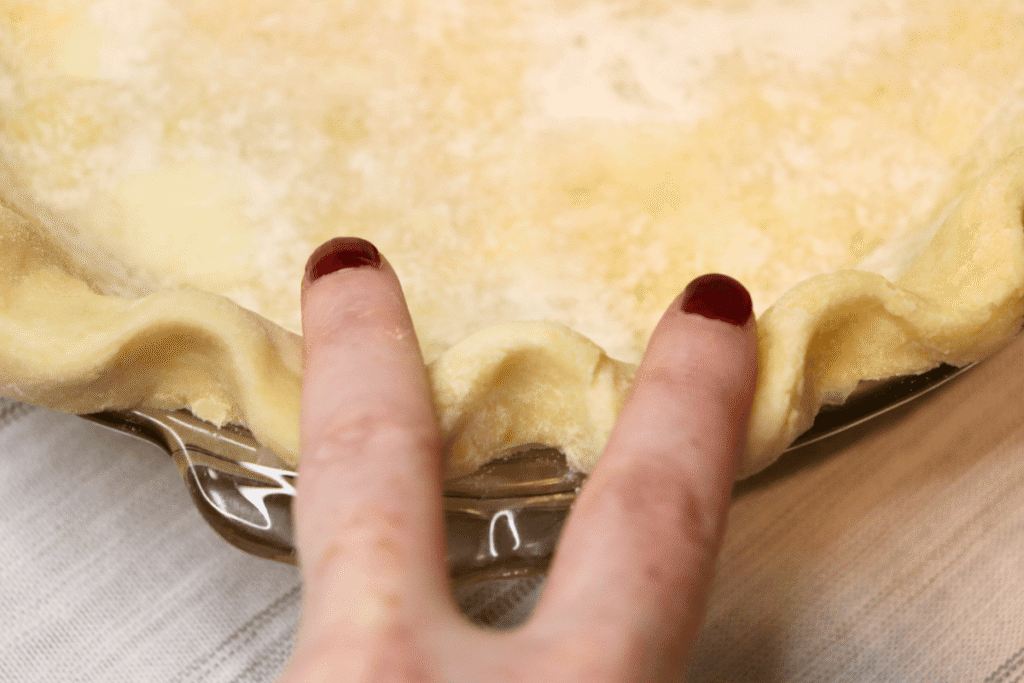
Step 7: To give pie crust the classic crimped edge, all you need is three fingers. Press down two fingers on the edge as shown above. While doing so, use the pointer finger of your other hand to gently press the middle portion forward towards the center of the crust. Continue this all around the pie dish for the perfect crimp.
Step 8: Once shaped, your crust is ready! you may either freeze or bake your crust according to your preferred recipe. Enjoy!
How to Blind Bake a Pie Crust
Blind baking a pie crust is simply baking it without fillings. This is necessary for some pies and meals that are unbaked, or baked for very little time such as lemon meringue or pudding pies.
Step 1: Chill your shaped pie crust in the fridge for half an hour and pre-heat the oven to 425°F.
Step 2: Place parchment or foil in your crust and fill it with dry rice or beans just below the crimp.
Step 3: Bake for 12-15 minutes or until the edges are golden. Remove crust from the oven and carefully take the parchment and weighted material out.
Step 4: Poke the bottom of the crust all around with a fork. Return the crust to the oven (without weights this time) for 10 minutes.
Tips
- If your crust is sticking to your rolling pin, rub flour over it several times while rolling it out.
- If your crust is sticking to the counter before the transfer, use a spatula or a dough scraper to gently scrape under and lift it off.
- This recipe can be used for top crust as well, just plan to use less dough since you won’t have to cover as much area.
Storage
Homemade pie crust freezes excellently. Once shaped, simply seal the whole pan in plastic wrap or a ziplock, date it, and freeze for up to six months. This is great for throwing together a quick pot pie on a weeknight.
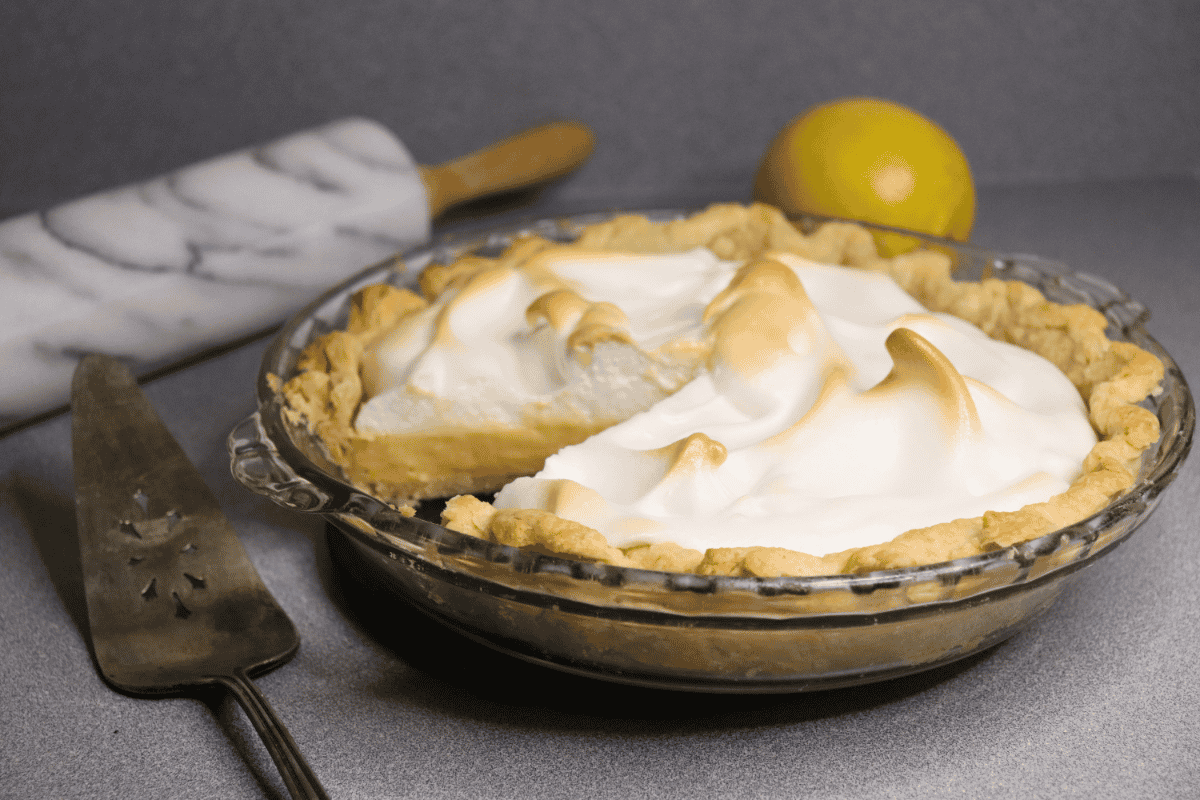
Bonus Recipe! King Snacks
Have some extra offings from your pie crust? Sounds like a perfect time to make some King Snacks! These are perfect snacks for young kids and teens who are impatiently waiting for your pie. To see the story behind these and where they get their name, see the story at the top of this post.
Step 1: Tear the leftover dough into flat strips.
Step 2: Melt some butter and brush it over the dough. Sprinkle some cinnamon and sugar over the buttered strips and pop in the oven at 350 degrees until the edges just begin to brown.
Throw on a paper crown and enjoy!
More Recipes From Awaiting Acreage
Cooking Through My Grandmother’s Recipe Box
These posts are dedicated to my grandmothers, Doris Watt (Grandmom) and Yvonne Wakefield (Toto). I am grateful to come from women who love to cook! From multiple metal recipe boxes stacked up in a cupboard to sticky note recipes messily lining the inner doors of kitchen cabinets, my grandmothers collected recipes from friends, magazines, books, and of course, their own creations. Sadly, some recipes have been lost through time and wear to the great sadness of older family members who still remember them.
All of this has inspired this series. I will be cooking through my grandmothers’ recipe box(es) and sharing these gems in order to keep tradition alive and save these recipes from being lost to time. Now, I will definitely be making my own modifications due to the heavy use of things such as Oleo or other items our family avoids in an attempt to eat more natural, whole foods, but I will always show the original recipe and explain what I have modified.
My hope is that in sharing these recipes, they’ll live on in new kitchens, with new memories. This is my way of continuing the tradition of cooking with love, simplicity, and just a little bit of flour on the counter.
If you liked this recipe for Apple Bread, please consider giving it a 5-star rating below! This helps others find it and supports our family business.
Grandmom’s Homemade Pie Crust
Ingredients
- 3 Cups Flour
- 1 tsp Salt
- 3 sticks Butter unsalted
- 1 Egg
- 1 Tbsp White Vinegar
- 6 Tbsp Water cold
Instructions
- Combine the salt and flour in a large bowl. Cut the slightly cold butter into cubes and add it to the flour mixture. Using a pastry cutter or fork cut the butter into the flour until it is crumbly.
- Next, mix in the egg, water, and white vinegar to form your dough.
- (Optional) Cover the dough and let it set in the fridge for one hour. This will allow the gluten to relax and make for an easier time rolling and shaping.
- Roll out your pie crusts on a lightly floured surface. The final product should be circles that are larger than your pie pans to account for the edges and around 1/8-1/4 of an inch thick.
- Carefully fold your crust in half and transfer it to your pie dish, then unfold it. You want ½-1 inch of extra pie crust hanging over the rim of the pie pan. Any extra can be torn off. Take the extra crust around the edges, roll it towards the rim, and crimp.
- Once shaped, your crust is ready! you may either freeze or bake your crust according to your preferred recipe.
Notes
- Make sure the butter is cut into the flour so that it leaves small crumbly pieces. If you leave large pieces of butter, you will have pockets in your crust, resulting in a weak and uneven crust.
Leave a Reply