
This post may contain affiliate links. Read our disclosure policy here
If you are looking for a simple guide for how to make compost at home, then welcome! Whether you have a yard or not, composting is a great way to enrich soil and reduce food waste. But how do you start? In this post, you will learn the basic tips and tricks for how to begin.
Why Should I Learn How to Make Compost at Home?
1. It enriches your soil.
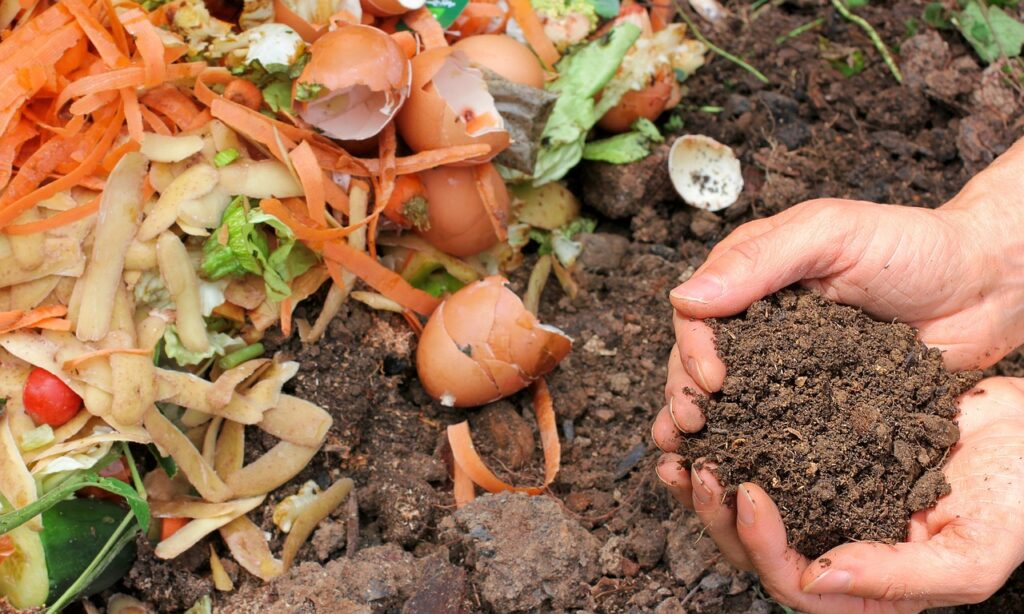
Adding compost to your garden can significantly improve your plants by adding structure, nutrients, and better drainage to your soil. Think of compost as organic material that slowly releases nutrients as it breaks down. This promotes healthy plant growth and often helps give a bigger harvest!
If you have enough compost, it can also take the place of additional soil you would normally buy. So composting allows you to have a cheaper, healthier, and more self-sufficient garden.
2. It reduces food waste.
Between 30% and 40% of food in the United States is thrown away. Sadly, it’s not restaurants or corporations leading this stat; it’s households. With an abundance at our fingertips, we are often less likely to conserve what we have, so we throw out things a bit too flippantly. As a result, food waste takes up about a quarter of our landfills.
One way to reduce waste and live more sustainably is to compost. Composting allows food to break down so that it can be reused and improve our gardens and environment, not hurt them.
How to Make Compost at Home: A Very Simple Guide
We are not going to get into the science of composting in this article. This is a simple guide for beginners who want to get started quickly. If you do, however, feel an urge to learn about carbon and nitrogen balance, chemical breakdown, and what-not, you can go HERE to read about it. For everyone else, let’s learn the very basics.
In order to begin composting, you need to do three simple things:
- Choose a Method
- Add Material
- Maintain Your Compost (aka stirring)
STEP 1: Choose a Method
To know what method you should try, you need to first know whether you are composting outside in a yard, or in your house/apartment. (Yes, you can compost in an apartment! Skip down to indoor methods to see how!) You will also want to consider how much you want to spend. For some methods, you don’t need to spend anything at all, while others require more of an investment.
OUTDOOR Composting Methods
1. The Compost Pile
This is the simplest way to make compost at home. It is the method my husband and I have always used. And while it does have its own downsides, it is cheap, easy, and in our experience, effective.
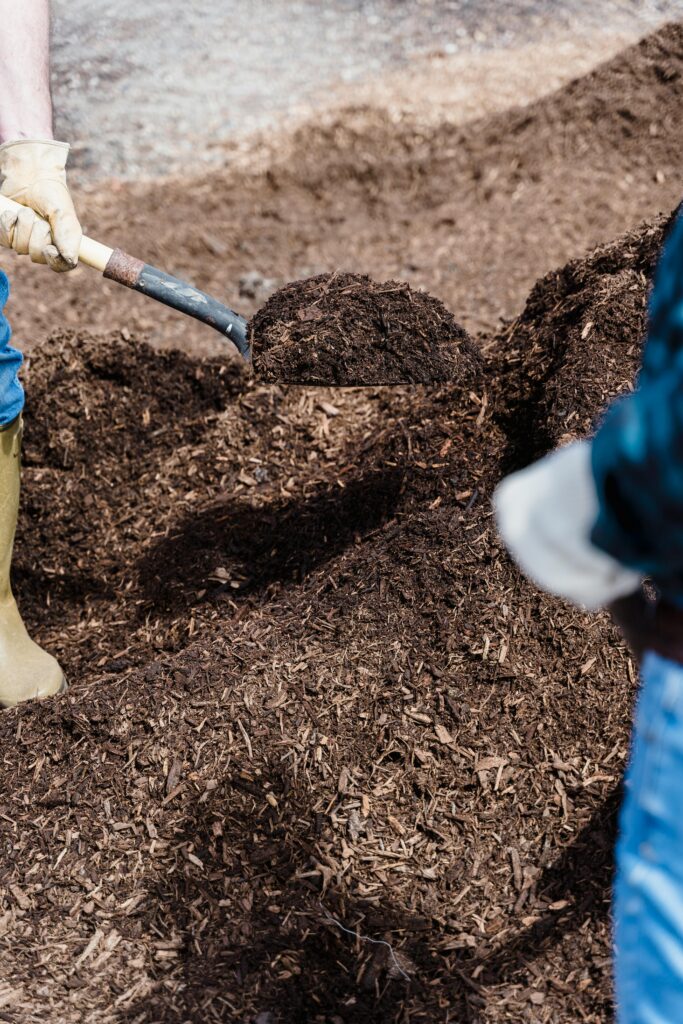
For this method, you designate a spot in your yard that becomes your compost pile. Anytime you have material (e.g. vegetable scraps) to add, you throw it in the pile. That’s it. It’s that simple.
As your pile grows, you can stir it occasionally to help it break down faster. Either way, your pile will eventually begin to break down and create some wonderful fertilizer for your garden.
PROS
- It’s easy.
- There is no cost up front.
CONS
- If you’re not careful, it can attract pests.
- It can be an eyesore in your yard.
- Takes longer to produce soil if you don’t stir it regularly (once a week).
To avoid pests such as rodents, my husband and I never throw out any meat or dairy products. We also have some stray cats that roam around our house and they seem to ward them off. So if you have outdoor pets or roaming strays like we do, this will really help keep unwanted guests away.
TIPS
- Make sure your pile is in a spot with good drainage and at least partial sun.
- If you are concerned about it being an eyesore, you can use untreated pallets or something similar to create a three-sided wall for your pile. You can also cover the pile with some sort of mesh (This can also help with pests).
2. A Compost Bin or Barrel
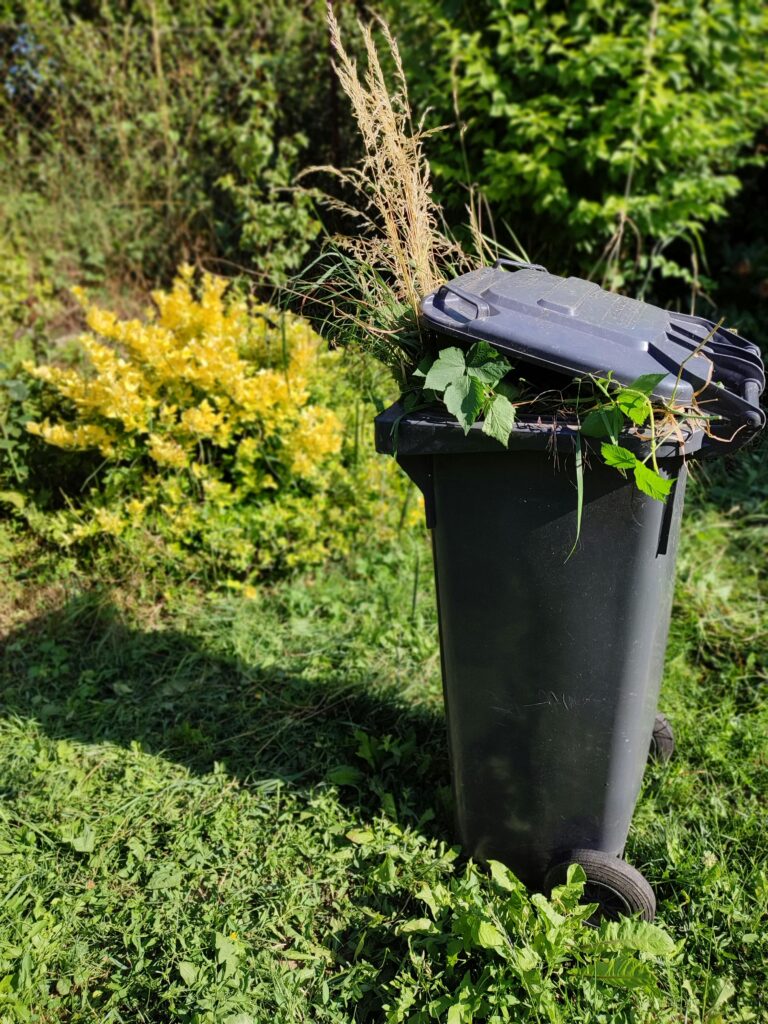
An undeniably popular method for those first learning how to make compost at home, the compost bin is exactly what it sounds like. Basically, you get a large bin to keep the compost in that stays outdoors. Some like to have a bottomless bin that sits atop the soil.
The important thing about keeping a bin is making sure that it has air. Without air, the compost cannot decompose. So if you get a bin with a lid, drill some holes in the top to allow airflow.
PROS
- It contains the compost, keeping it from being as much of an eyesore or attracting pests (if it is covered).
CONS
- It can be a chore to stir.
This post contains affiliate links, which means I make a small commission at no extra cost to you. See my full disclosure here.
3. A Tumbler
A tumbler is basically a higher-tech bin that sits on an axis with a handle to turn it. They have become very popular recently in the composting realm because they are easy to use and very convenient.
Since the handle allows you to turn it so easily compared to a pile or especially a bin, the materials get mixed better and break down faster. Tumblers come in various sizes and work great in urban areas. Several of our neighbors have them, and if you want to learn how to make compost at home without lots of effort, this is a great way to go.
PROS
- Super easy to use
- Mitigate the risk of unwanted pests
- Comes in various sizes
CONS
- Can be pricey (especially larger ones)
INDOOR Composting Methods
1. Worm Boxes
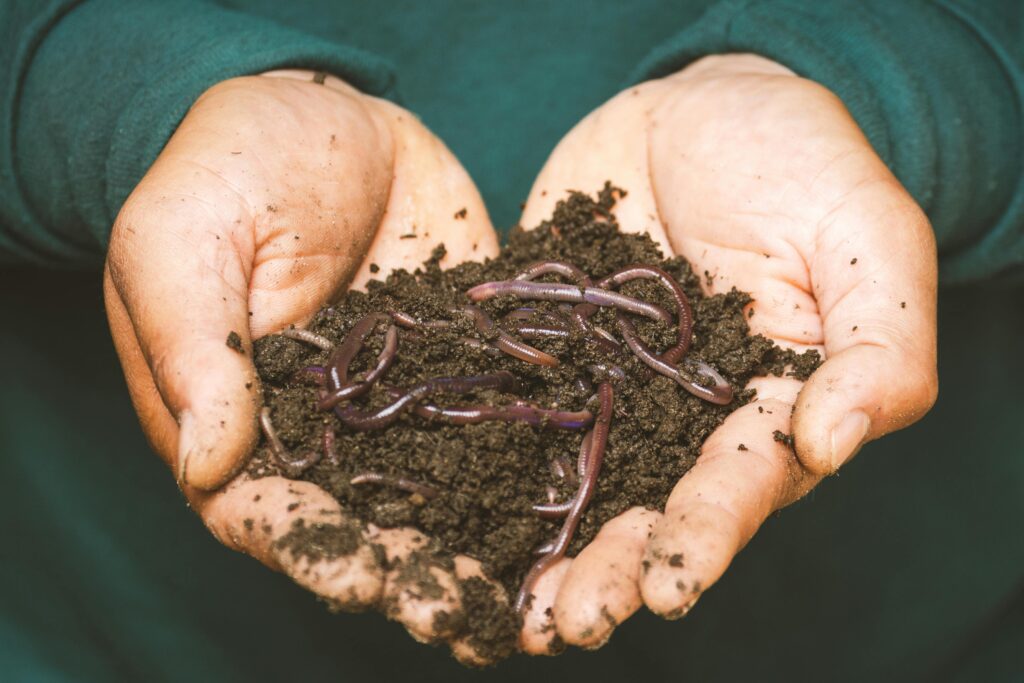
I have never done this method or personally know anyone who has. Instead of talking about what I don’t know, you can check out the EPA’s instructions on starting an indoor worm box HERE.
Here is what I will say about worm boxes: They are much more complex (hence why we have never tried one). Plus, our compost pile naturally gets tons of worms that we don’t ever need to monitor. However, worm boxes break down compost a lot faster than other methods. So if you want to try this, go for it and let me know how it goes in the comments below!
2. Bokashi Bin
Using a bokashi bin isn’t technically composting; it’s fermenting. By fermenting your scraps in this bin, you create a sort of “compost tea” that you can add to soil to nourish it.
A bokashi bin kit typically includes a container with a spout for your scraps and some bran to feed it. This method takes a LOT more maintenance because you have to continuously feed it bran as it ferments (kind of like a sourdough starter). However, you can feed it any kind of food scraps, even meat and dairy!
PROS
- It only requires a very small space, so it is ideal for apartments!
- You can throw meat and dairy scraps into it as well.
- It ferments into a compost tea VERY fast compared to traditional composting.
CONS
- It requires a learning curve.
- Takes a lot of maintenance.
- Requires you to continue to buy the bran.
4. Give It Away/Community Services
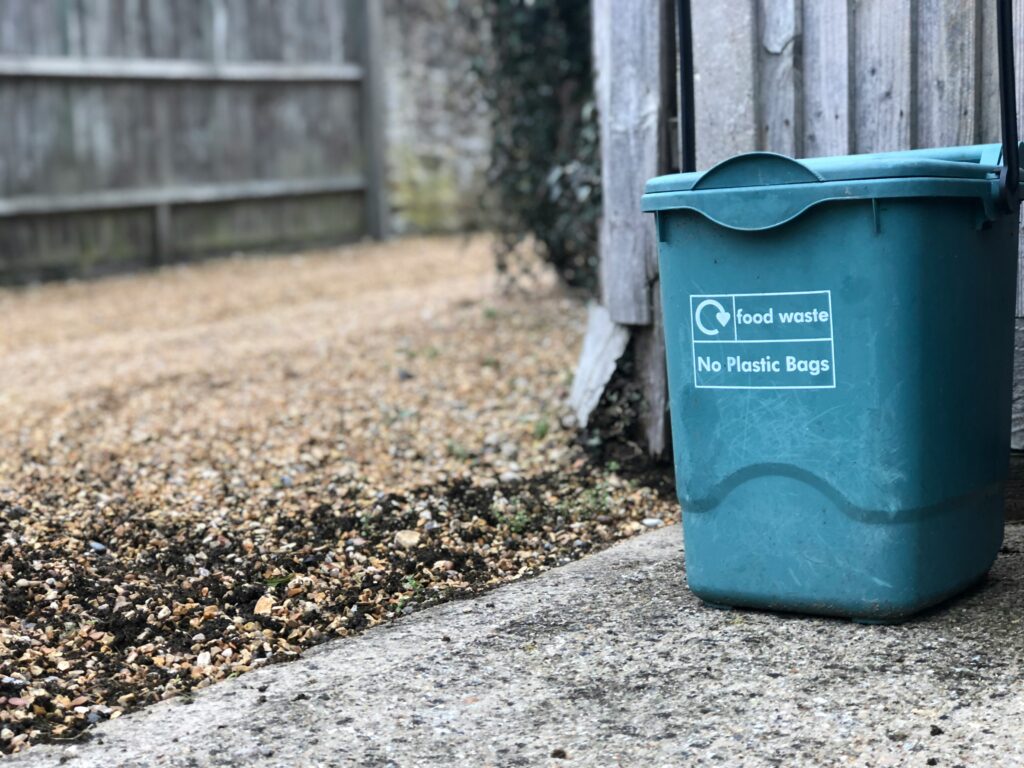
If all else fails and you give up on learning how to make compost at home, I encourage you to at least find someone who will take your food scraps. This could be a friend who composts or even a community service.
In Dallas, there are several services that will take your scraps, turn it into compost, and deliver it to local farms! Many cities have programs similar to this one, and some even return the compost to you for a price. There are definitely options worth looking into if you decide that composting isn’t for you in this season of life.
STEP 2: Add Materials
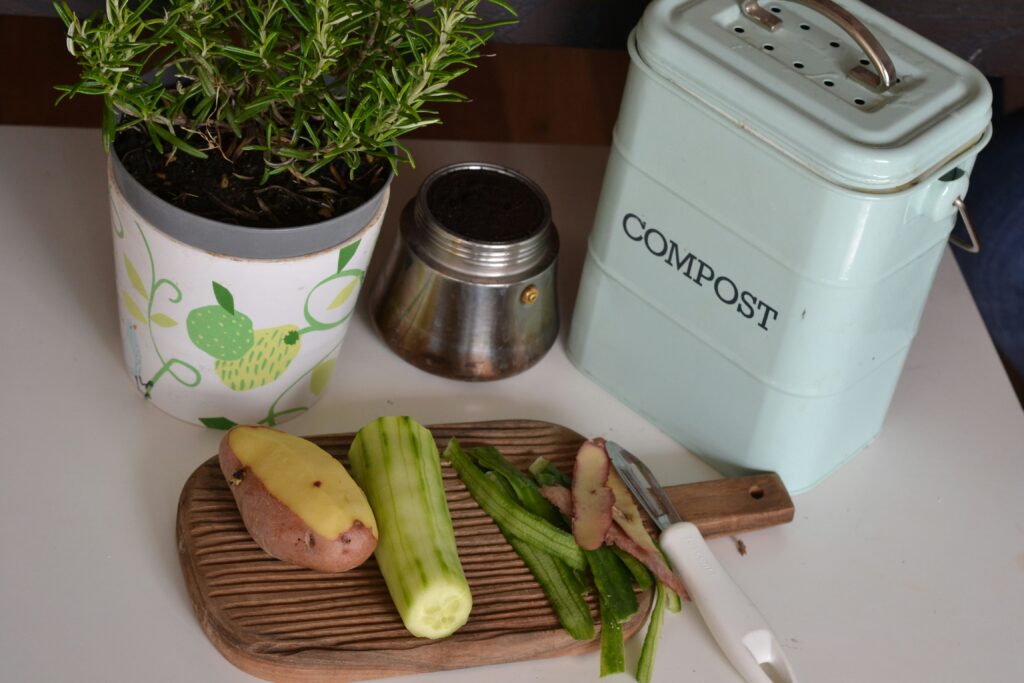
Everything you put into your compost can be broken down into two categories: Green and Brown. Basically, “green” items have more nitrogen, and “brown” items have more carbon. Oddly enough, the names don’t really relate to the colors of the items.
“Brown” Material
- Dry leaves
- Egg shells
- Wood chips
- Straw
- plain, brown cardboard
- Pine needles
- Paper
“Green” Material
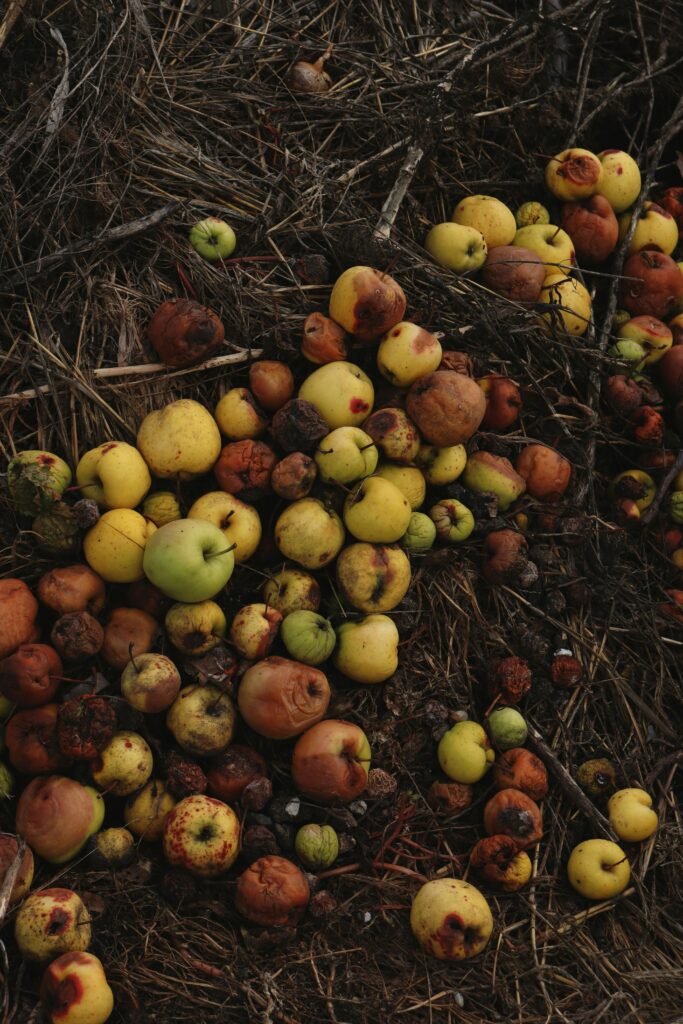
- Fruit/vegetable scraps (think peels, cores, etc.)
- Coffee grounds
- Fresh grass
- Flowers
- Manure
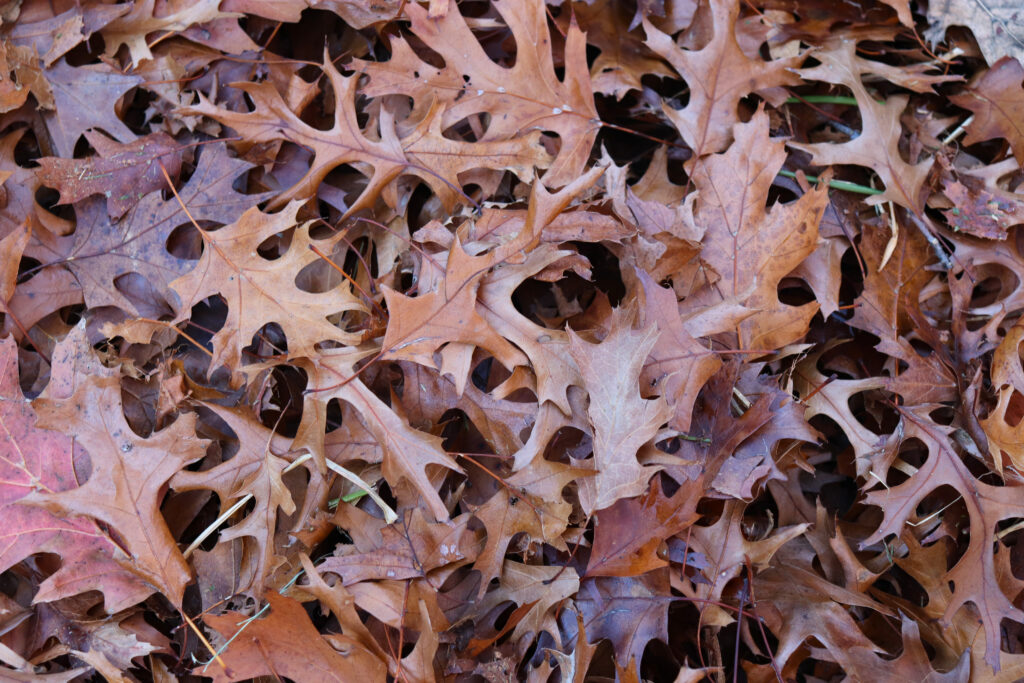
Have an abundance of fallen leaves? Find out three ways to use dried leaves in your garden!
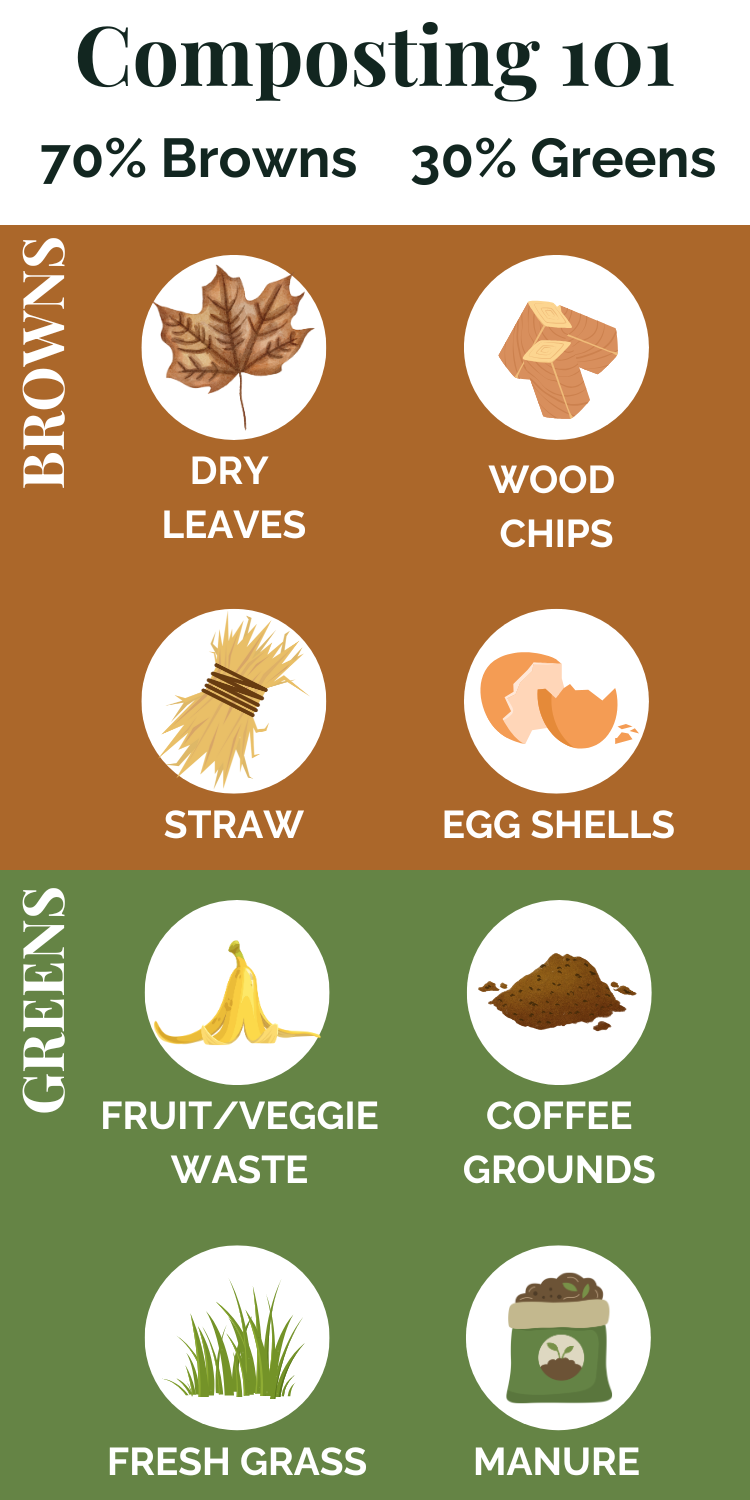
As a loose rule, you want around 70% brown material and 30% green material. HOWEVER, I have never worried much about the proportions, and our compost does a stellar job in our garden. Don’t get hung up over the details. If you want to learn how to make compost at home, and this stresses you out, don’t worry about it! You will see some tips for knowing if you really need to adjust the ratio in the maintenance section down below.
So don’t worry too much. Just keep adding and stirring.
Materials to AVOID in Your Compost
- Meat
- Dairy
- Oil
- Salt
- Pet waste
- Treated wood
- Diseased plant material
STEP 3: Maintain Your Compost
Overall, your compost usually doesn’t need much maintenance.
Compost needs air and moisture. About every week or so, you need to stir the compost to allow things to breathe and break down more evenly. Depending on the method you choose to compost, this can look like moving it around with a shovel or pitchfork, turning a crank, or just making sure your worms are doing their job.
When you stir, you are also checking your compost to make sure it is doing alright. Here are a few issues you might run into and how to fix them:
1. It stinks
You probably have too much “green” and not enough “brown”. Throw in some cardboard, dry leaves, or other “brown” material. It will fix the problem soon enough.
2. It isn’t breaking down
This could be a few different things: One possibility is that your compost is too dry. If so, spray some water on it and stir. It could also be that it has too many “browns”. If that’s the case, increase your “greens”. Finally, it could be that it doesn’t have enough air. If it’s in a bin, drill some more holes into it.
Keep in mind also that compost processes a ton slower in the colder months.
3. It attracts pests!
Cover it! We throw slabs of marble over our pile. You can also use mesh, newspaper, or even wooden boards to cover it up and avoid attracting pests.
When is compost ready to use?
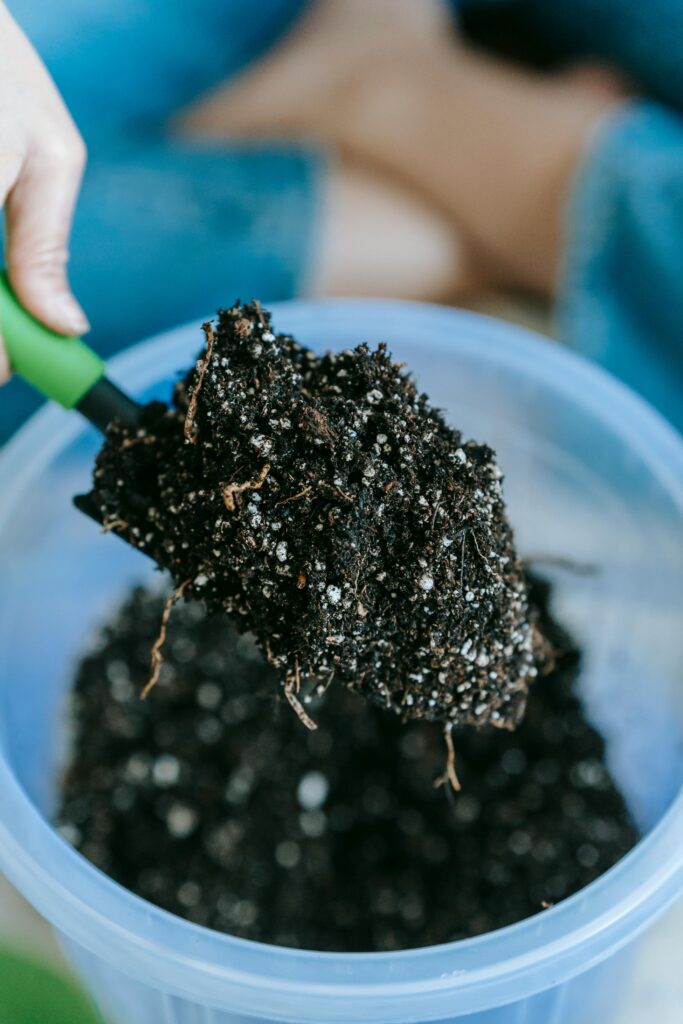
Compost can take anywhere from a few weeks to over a year to break down into the dark soil it becomes. It all depends on the method you choose and how well you maintain it.
Compost is ready to use when it has broken down into a dark brown crumbly soil. You can add it into your regular soil a couple weeks before gardening season or just before planting. It can also be added to potted plants.
Overall, learning how to make compost at home can be as complicated and costly as you want it to be! Whether you get a bokashi bin, tumbler, or simply throw everything into a big pile, take a dive and start!
Was this helpful? Have any questions? We would love to hear in the comments below!
Leave a Reply