
This DIY chickenwire bean trellis is the easiest solution for climbing lighter plants such as beans and peas in your garden. Read below to find out how you can build this quick and effective trellis for your climbing needs!
We made this trellis on a whim using some scrap wood and extra chicken wire from our garage when we planted black eyed peas in our garden last Summer. We were amazed at how perfectly it worked! Certainly, it wasn’t the most picturesque trellis, but it was fast, simple, and for us, free. Besides, once our peas shot up out of the ground and covered the trellis, it was actually a beautiful site. If you are looking for something quick, simple, and cost-effective, this bean trellis is the perfect choice.
What is the purpose of a trellis?
A trellis has multiple uses in a garden. Here are a few of the primary purposes of a garden trellis:
- It provides a structure for plants to grow vertically. Plants that climb such as beans, squash, cucumbers, or tomatoes need support during their growth to keep off the ground. This promotes healthy plants that are better protected from pests and diseases.
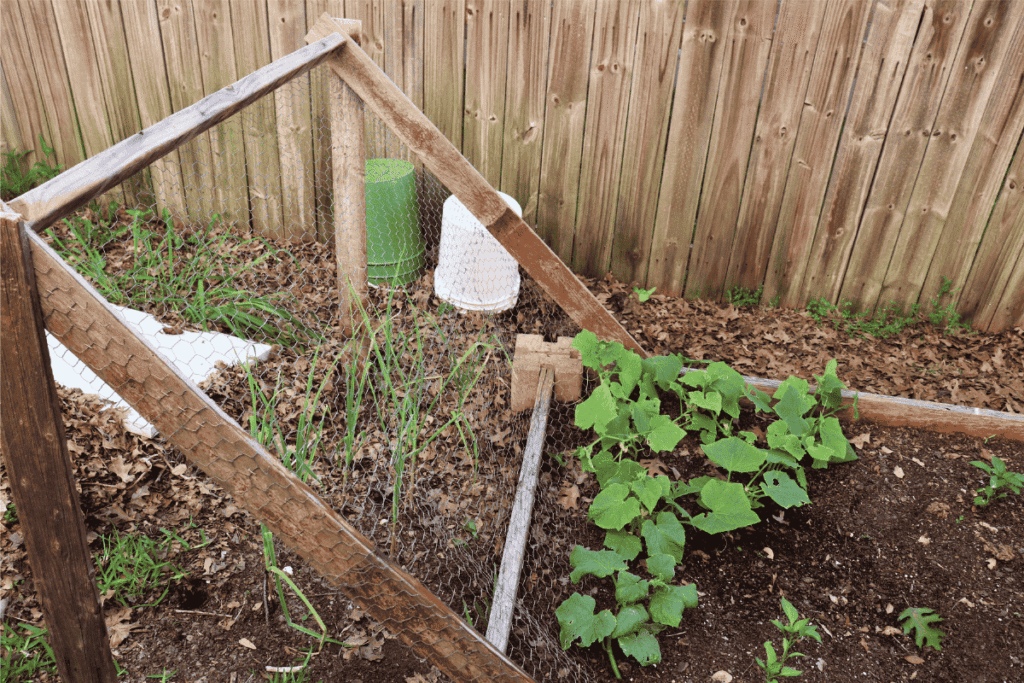
- It maximizes garden space. Vining plants will take up a lot of room if you don’t climb them. Our cucumbers covered half of a 4′ x 8′ raised garden bed before we incorporated our DIY trellis. Now they take up about 4 sq. feet total. Using a trellis will allow you to grow more in a smaller space. Take advantage of vertical gardening.
- It makes plants easier to maintain. Climbing plants on a trellis makes them easier to inspect, maintain, and harvest.
What kind of trellis do you need for beans and peas?
When building a trellis for your pole beans or peas, you will want something that is tall and allows for easy tending and harvesting. Beans are light, so don’t worry too much about the structural integrity of your trellis. Focus on accessibility. Beans can grow anywhere from the bottom to the top of their stalks.
Why you will love this chickenwire bean trellis!
An upright chicken wire trellis is a simple, quick build that can be done in less than 20 minutes. Note that this is not your picture perfect trellis, but once your bean plants start covering it, it becomes quite a lovely picture. That aside, this trellis is more about cost and time efficiency. It is an extremely effective and simple trellis that will support your plants well.
Pros and Cons of This Bean Trellis
Pros
- Simple and cost effective!
- Easily adjustable to your garden’s needs. Whether it is the length or the type of wood, choose what works for you.
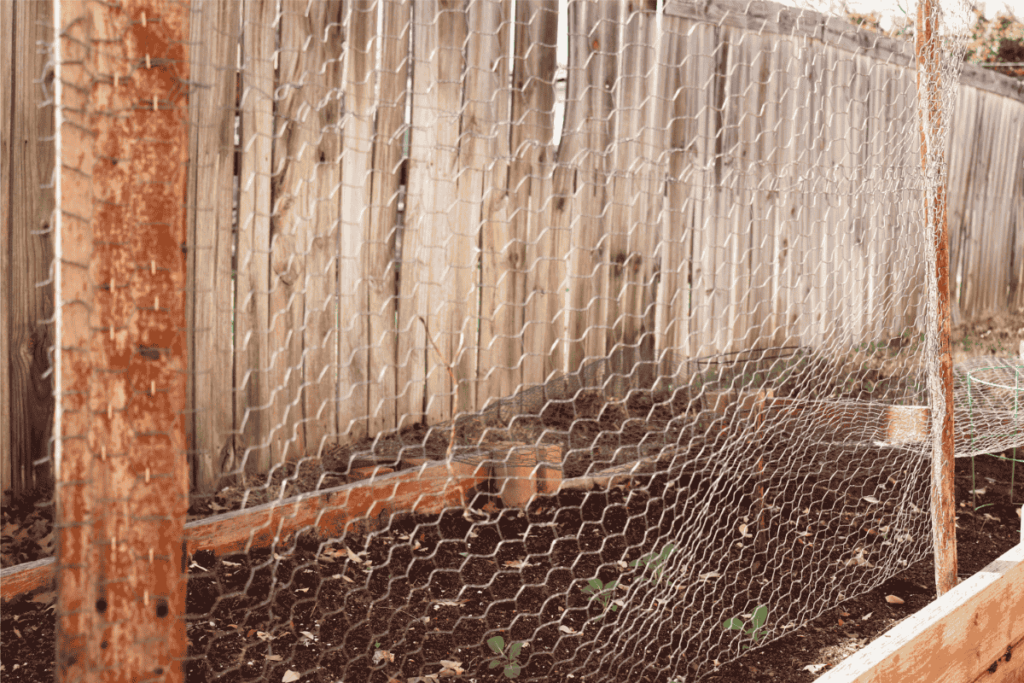
- Doubles as a garden cover to protect young plants from squirrels, birds, cats, etc. Just lay it above your plants by placing it on the walls of your raised bed until the seedlings are larger. This is our favorite way to protect from the many squirrels that relentlessly try to make our garden a forest of oak trees…
- Can be as pretty as you wish. We chose cost over appearance.
Cons
- Cannot carry heavy fruits, so it is best for beans and peas.
Upright Trellis Tools and Materials
2 to 4 Sturdy Wooden Stakes – The amount of stakes and their length will depend on the plant you are climbing. We used two 6′ fence panels to climb our pole beans with chicken wire that is 4′ tall. We sawed the posts to have a 7″ point.
Chicken Wire – We used 3′ by 4′ chicken wire mesh.
Wire Cutters
Heavy Duty Stapler or Zip Ties The stapler will make a sturdier trellis and makes it easier to assemble.
DIY Upright Trellis Instructions
Time needed: 20 minutes
- Cut Chicken Wire
Our Chicken wire mesh is already 4′ tall, which is plenty tall enough for our beans. We cut each section at a width of 4-5′. Feel free to customize the length according to your garden layout.
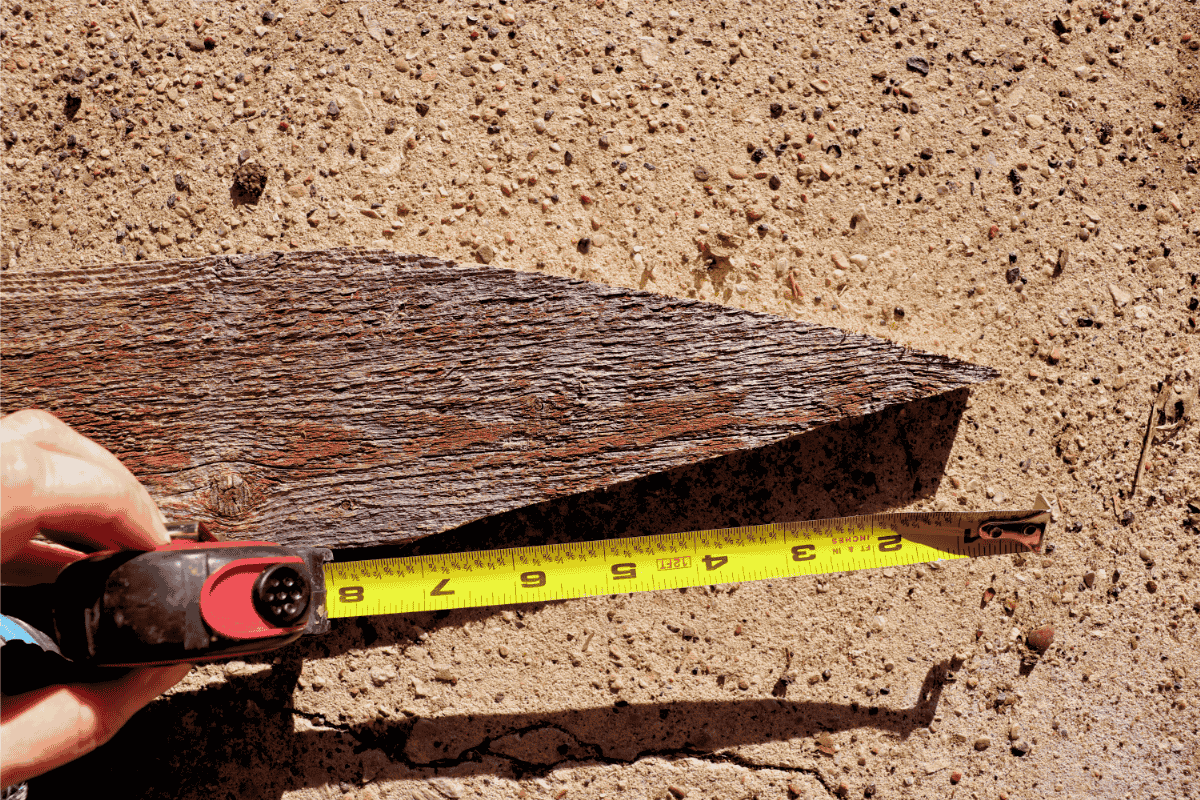
- Cut Points onto Stakes
If you are repurposing wood for your stakes, and it does not already have points, saw a 7 or 8 inch point on one end for each piece.
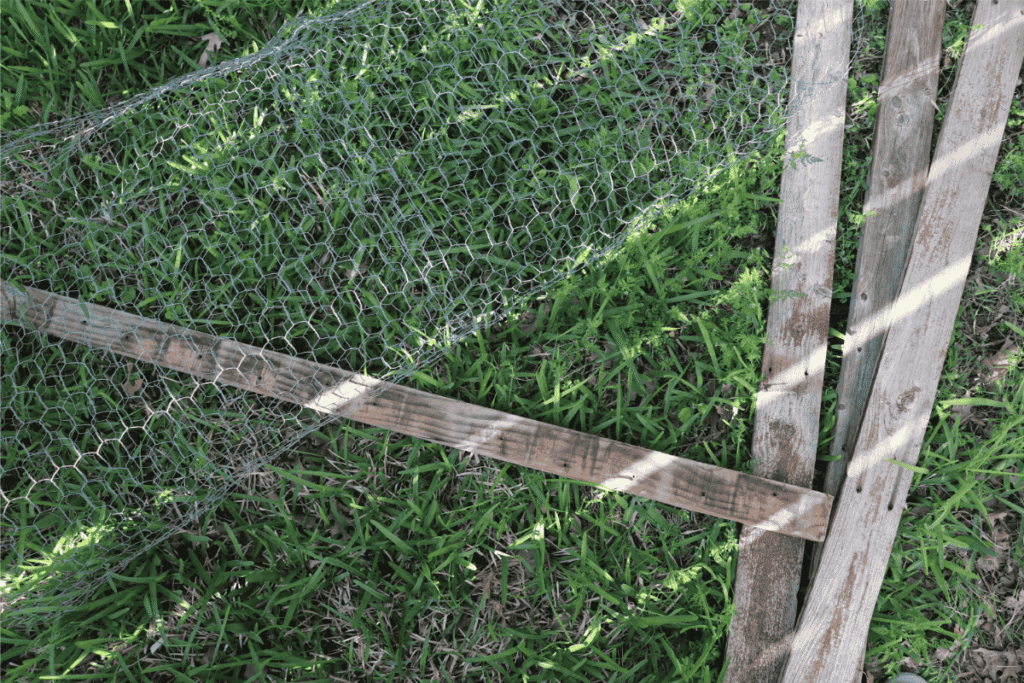
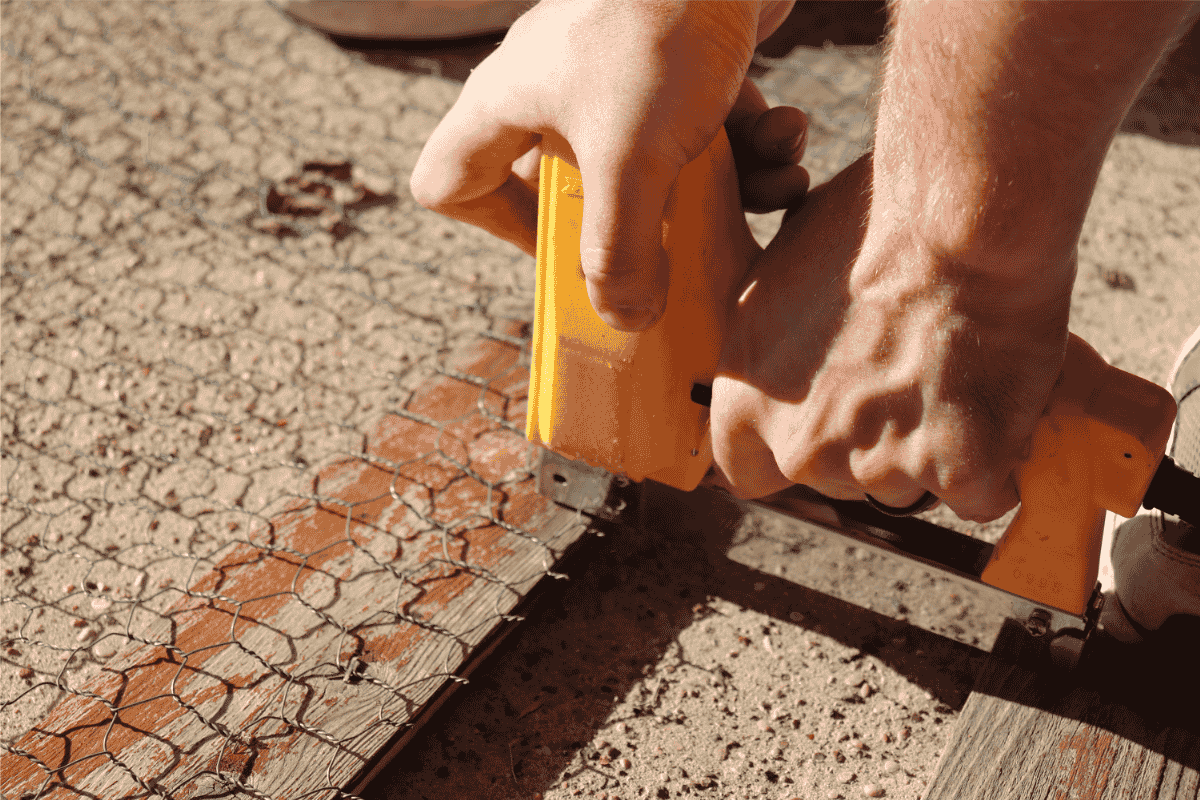
- Secure the Chickenwire to the Stakes
I recommend putting one stake at about every 3 feet of chicken wire. Secure your chicken wire to each stake by either stapling it in place with a heavy duty stapler or tying it to the stakes with zip ties. Leave at least 8″ of space at the bottom of each stake without chicken wire to drive into the ground. The more stakes you have, the sturdier they are, and the deeper you drive them into the ground, the heavier plants this trellis can carry.
- Drive your stakes and chicken wire into the ground.
The deeper your stakes are driven, the less likely your trellis is to fall. If your soil isn’t soft enough for you to push the stakes into your soil by hand, use a hammer to drive them in.
Want More Gardening Tutorials? Check Out Our Other Posts Below!
How to Start Composting at Home
3 Ways to Use Leaves in the Garden
Leave a Reply