
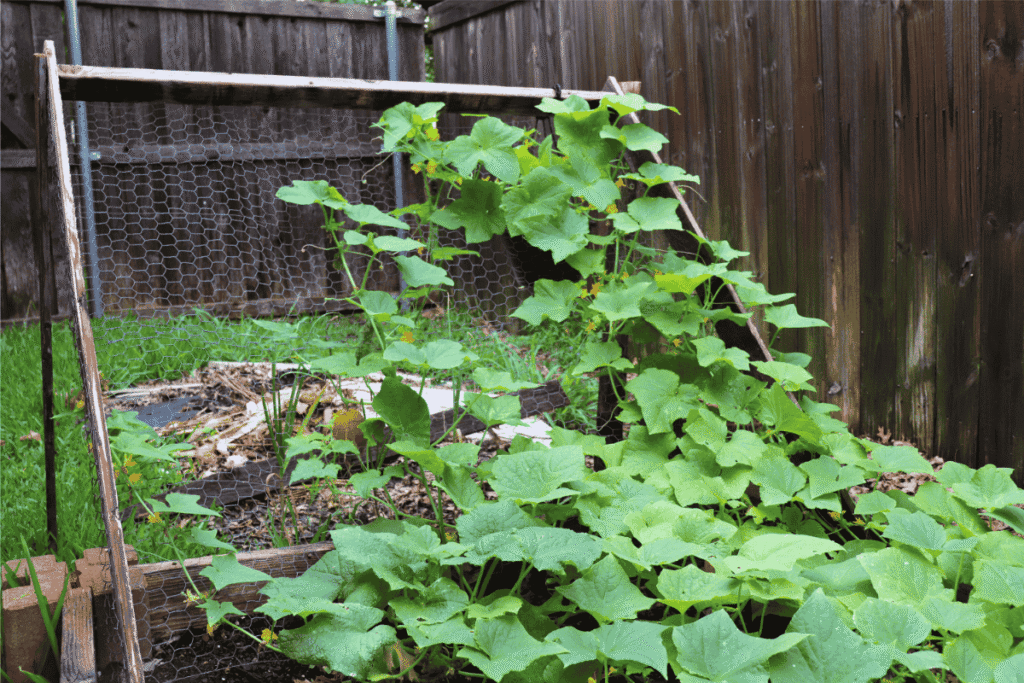
This DIY cucumber trellis is the easiest solution for climbing heavier plants in your garden. Though designed for cucumbers, it can also carry squash, tomatoes, small melons, and more. Read below to find out how you can build this trellis in less than an hour to keep those plants off the ground and give your garden more planting space.
What is the purpose of a trellis?
A trellis has multiple uses in a garden. Here are a few of the primary purposes of a garden trellis:
- It provides a structure for plants to grow vertically. Plants that climb such as beans, squash, cucumbers, or tomatoes need support during their growth to keep off the ground. This promotes healthy plants that are better protected from pests and diseases.
- It gives more planting space. Vining plants will take up a lot of room if you don’t climb them. Our cucumbers covered half of a 4′ x 8′ raised garden bed before we incorporated our DIY trellis. Now they take up about 4 sq. feet total. Using a trellis will allow you to grow more in a smaller space. Taking advantage of vertical gardening will give you room to do more!
- It makes plants easier to maintain. Climbing plants on a trellis makes them easier to inspect, maintain, and harvest.
The leaning nature of this trellis makes it easier to climb heavier produce such as cucumbers, squash, and melons. Now, let’s get on to the tutorial!
Cucumber Trellis Materials and Tools
A note on all measurements: I will give you the specific measurements to build a 5 ½ ft. x 5 ft. sized trellis. Please note that these are completely customizable based on your gardening needs.
Materials
Chicken Wire – 60″ X 47″
Two wooden posts – 55″ each in length
One crossbar – We used a 63″ X 2 ½” X 1 ½” piece of wood. This keeps the trellis from collapsing in on itself.
Two wooden posts – 45″ each in length
Tools
Heavy Duty Stapler
Hammer and Nails – You can also use a drill.
Saw – We used a table saw to make things easier, but you can use a hand saw if that’s all you have.
DIY Leaning Trellis Instructions
Time needed: 45 minutes
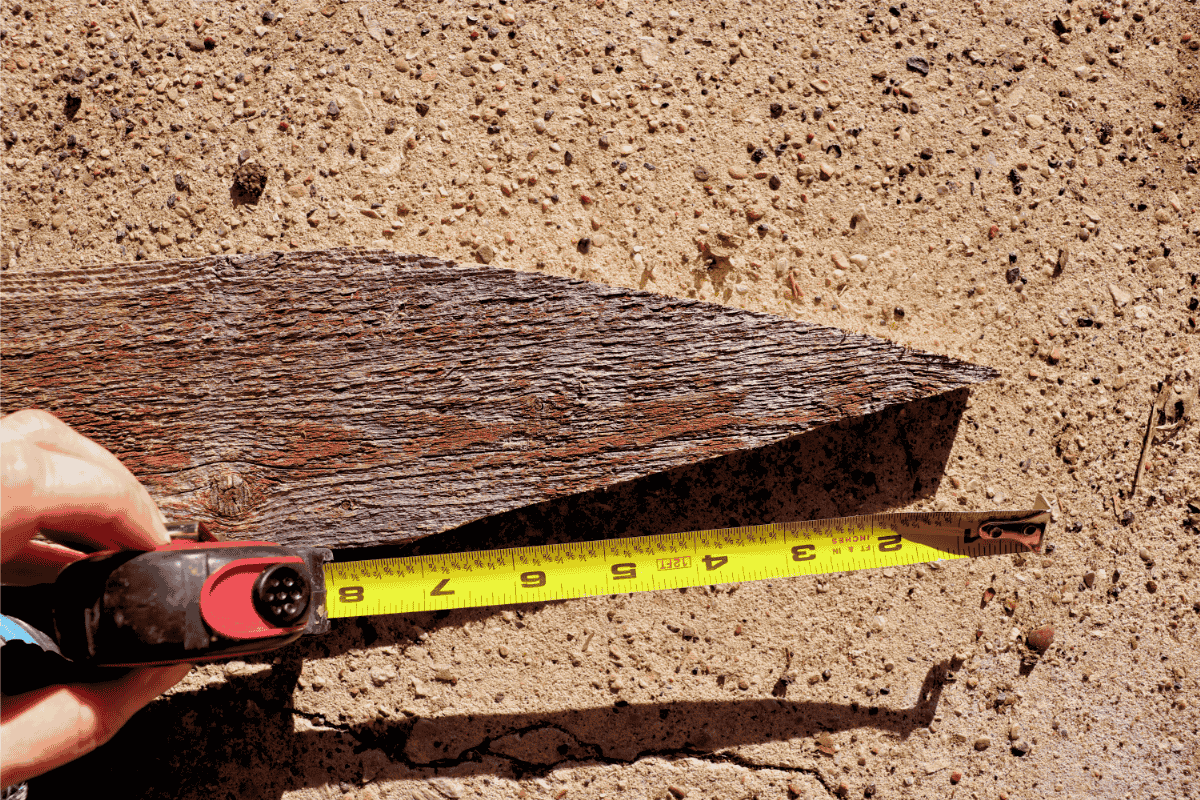
- Prepare Wood
Using your saw, cut your wood to your desired lengths (see note on materials section above). On your two shorter posts, cut a staked point on one end for each post. The point needs to be between 6 and 8 inches long.
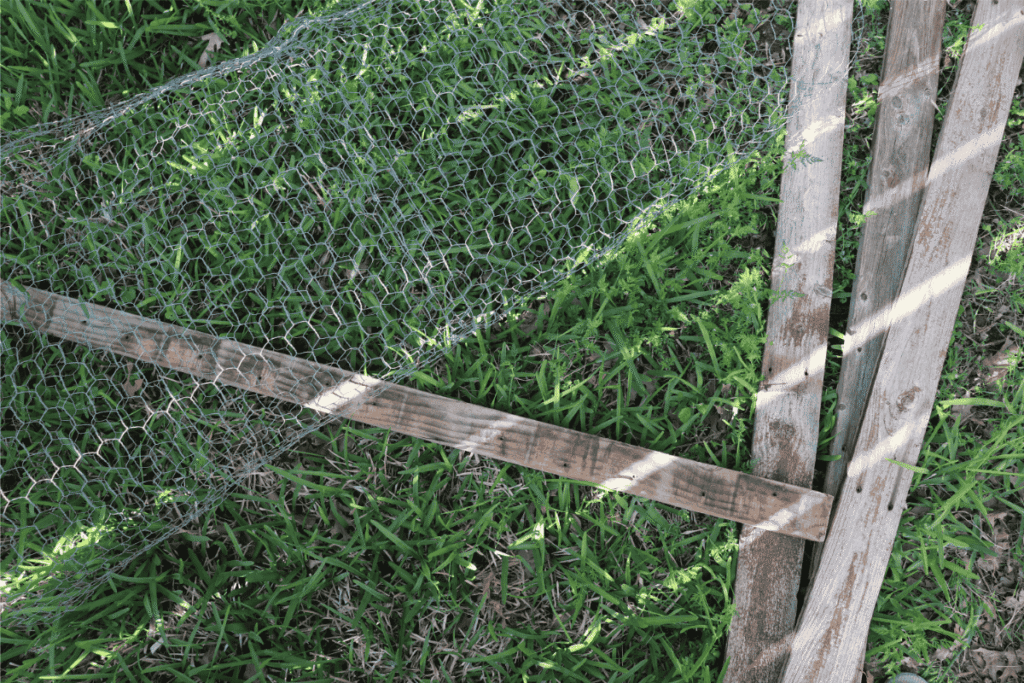
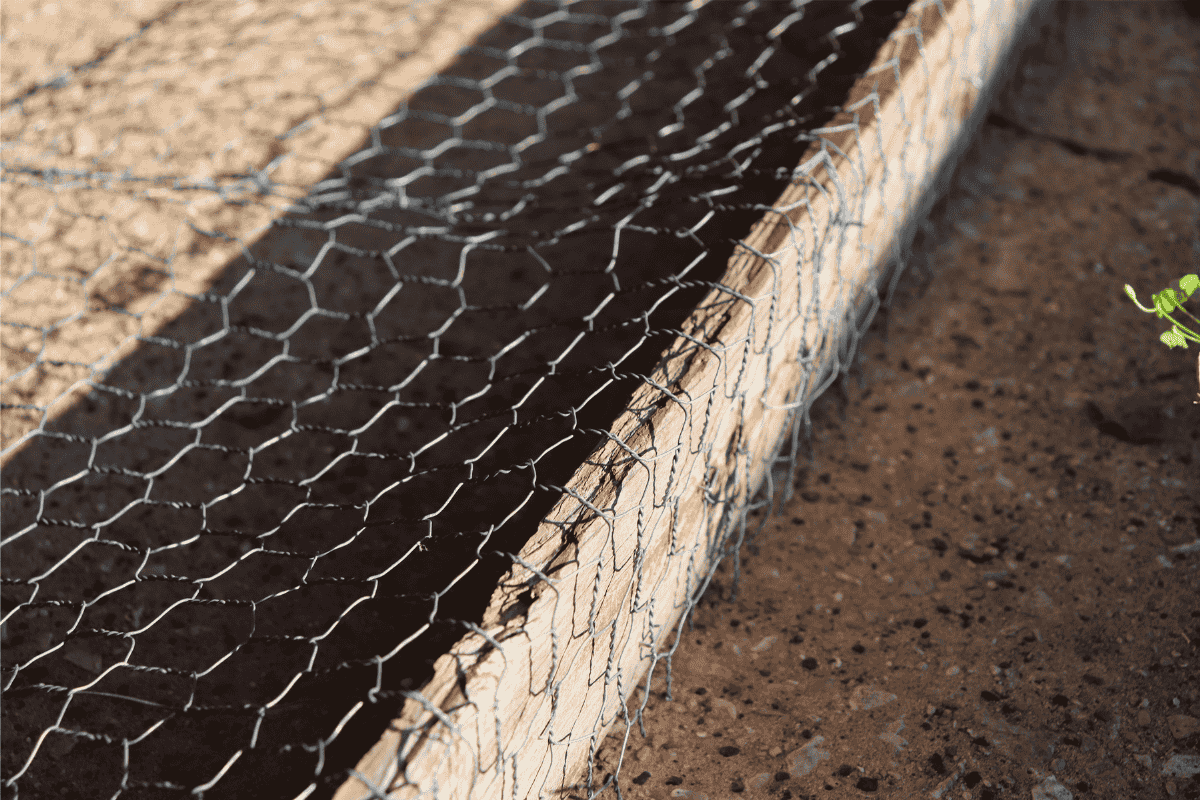
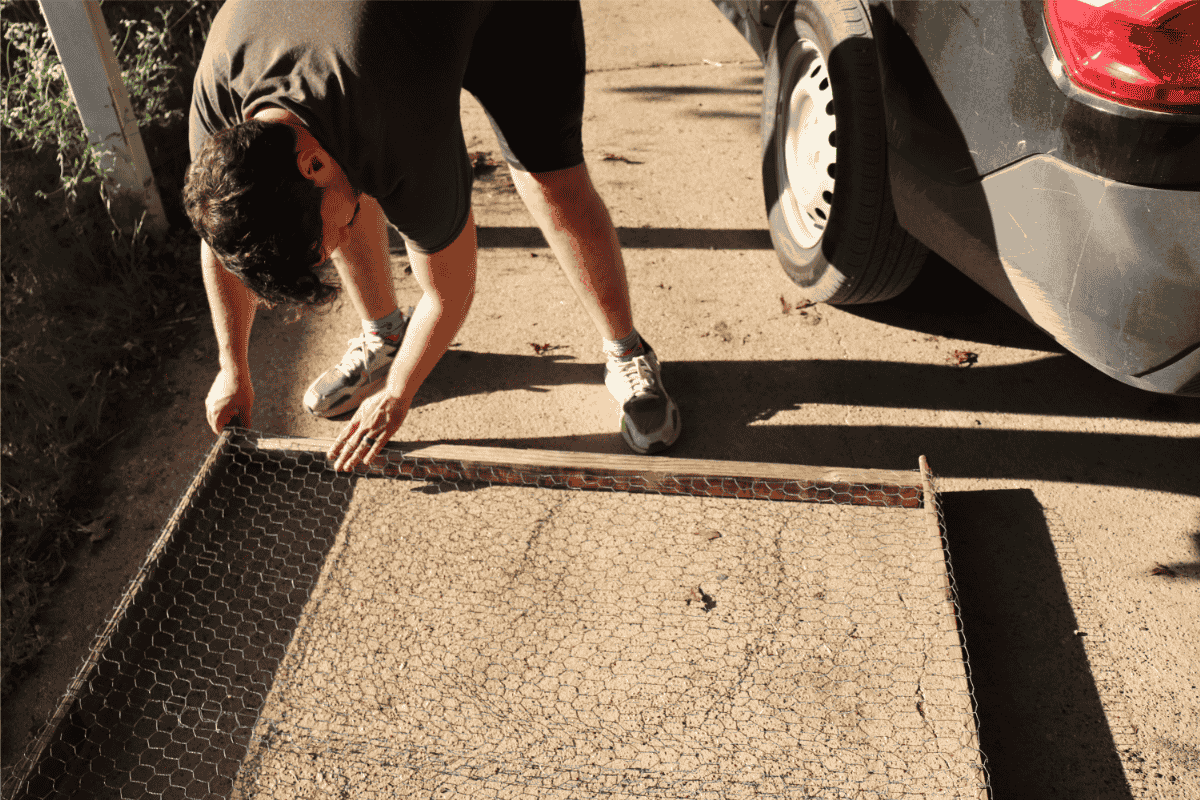
- Prepare Chickenwire
Lay down your two longer posts on the ground parallel to each other. Lay the chicken wire on top so that the shorter side of the chicken wire is lined up on to the edge of each post. Leave 6-8 inches on one side of the posts without chicken wire. The other side can fo to the edge or fall fall just short of it (see photos below).
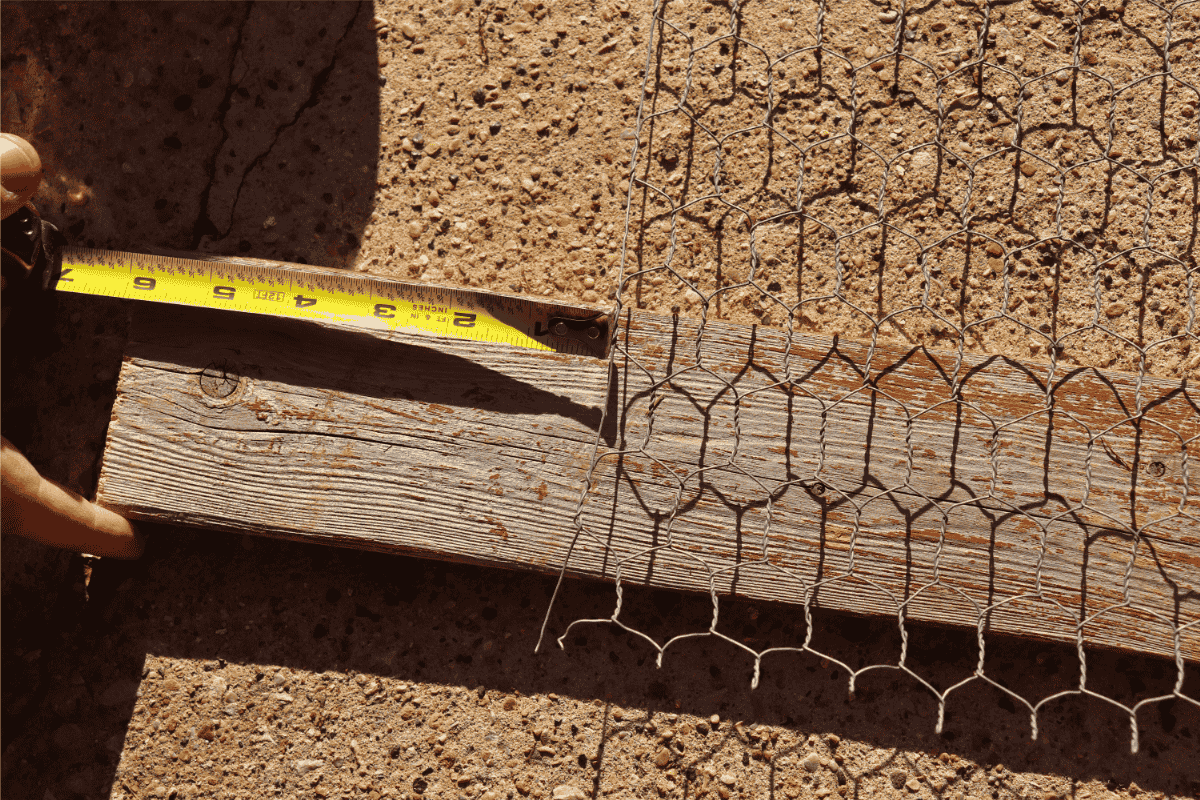
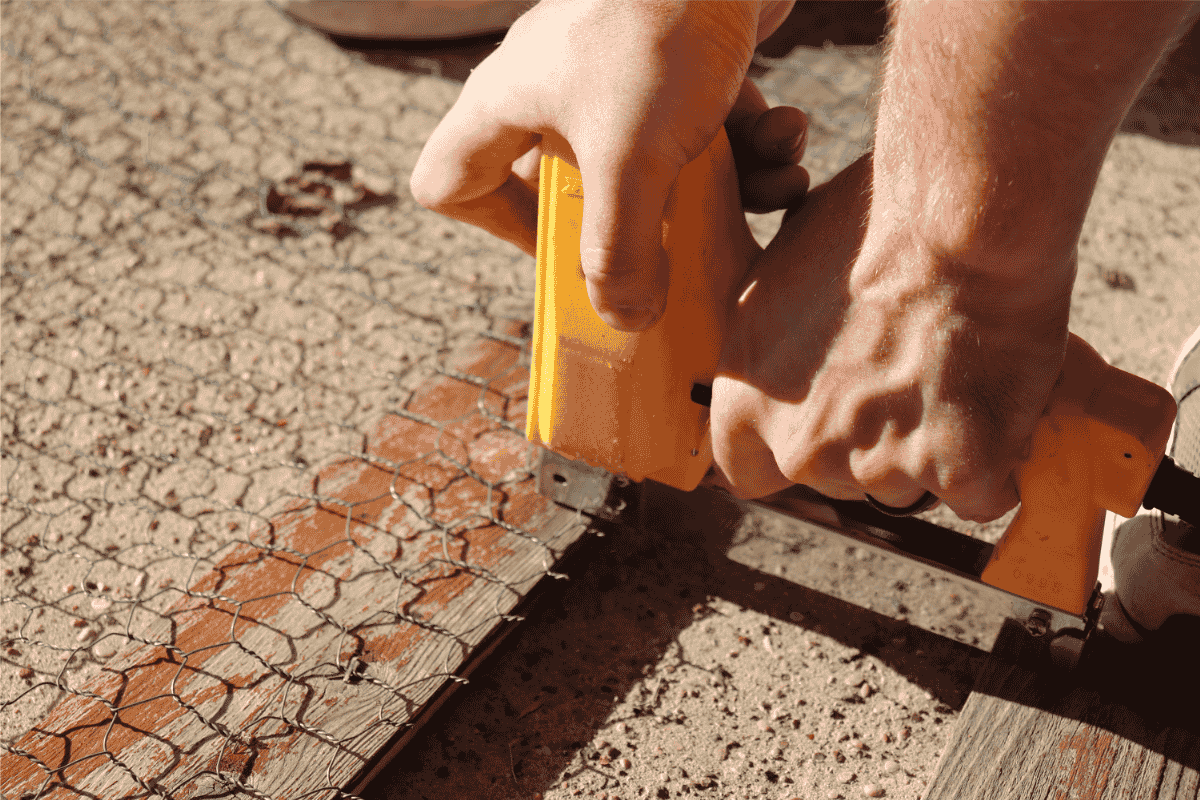
- Staple Wire in Place
Using a heavy duty stapler, staple the chickenwire onto the two longer fence posts.
- Prepare to Add Crossbar
Set the two posts on their sides with the stapled portions of the chickenwire covering the outside of each post.
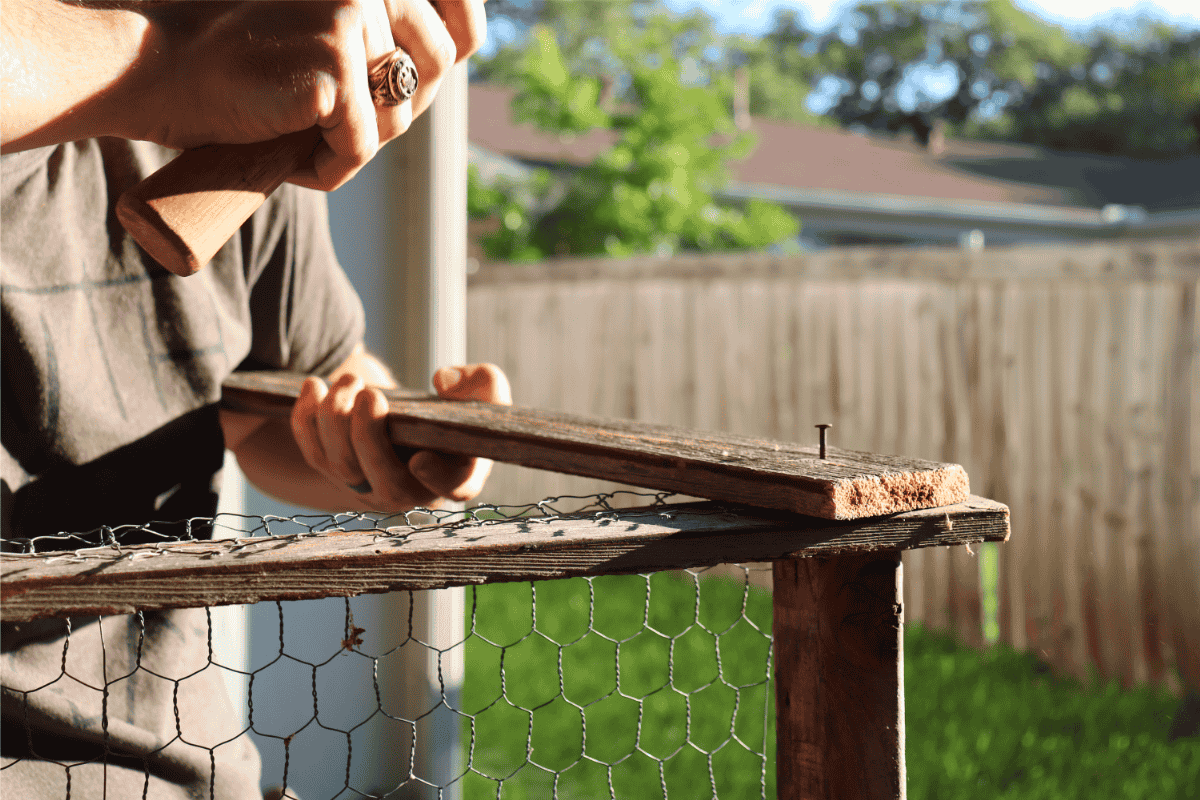
- Place Crossbar
Place the crossbar perpendicular and in-between the two fenceposts. Put it on the same side where the chickenwire goes nearly to the end of the posts. Nail or drill it in place.
- Add Staked Posts
Pick up your trellis on its side. Place the shorter, staked posts on the outside of the longer posts, lined up with where the crossbar is nailed in. Nail or drill them in with only one nail/screw. You will not want to nail them in too tightly. They should be able to rotate.
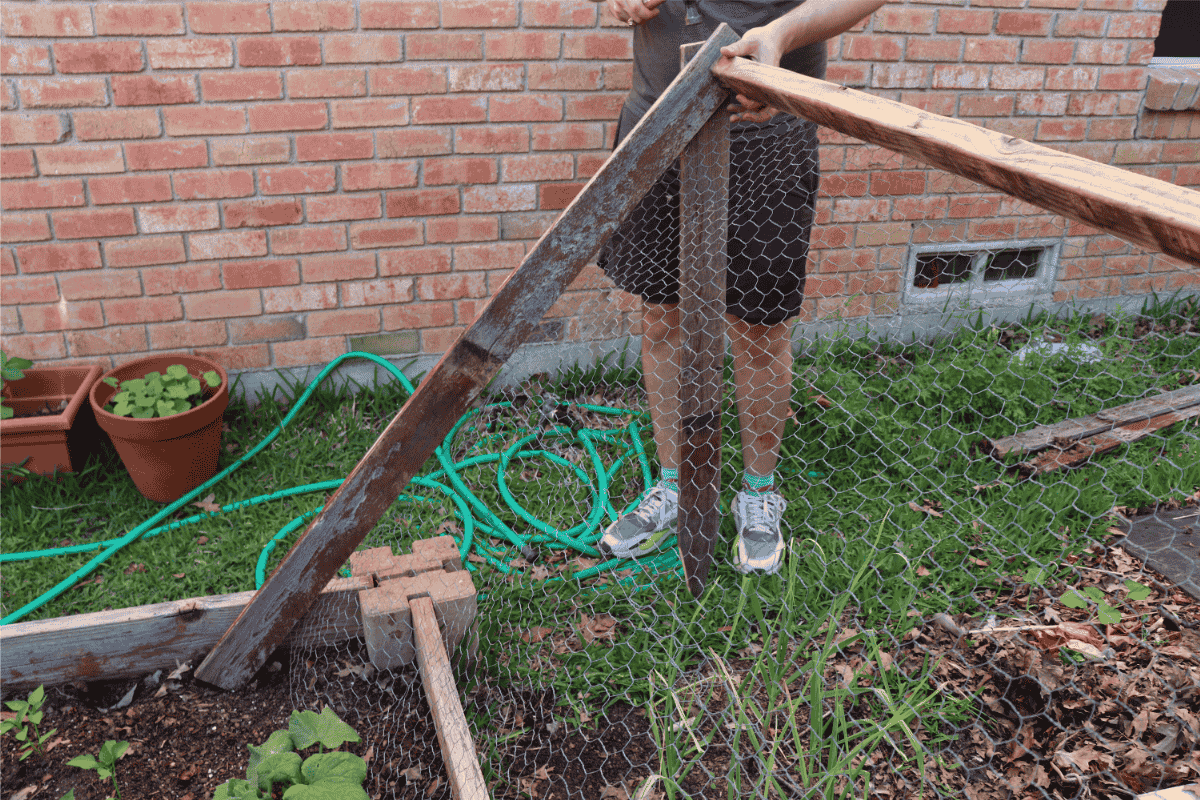
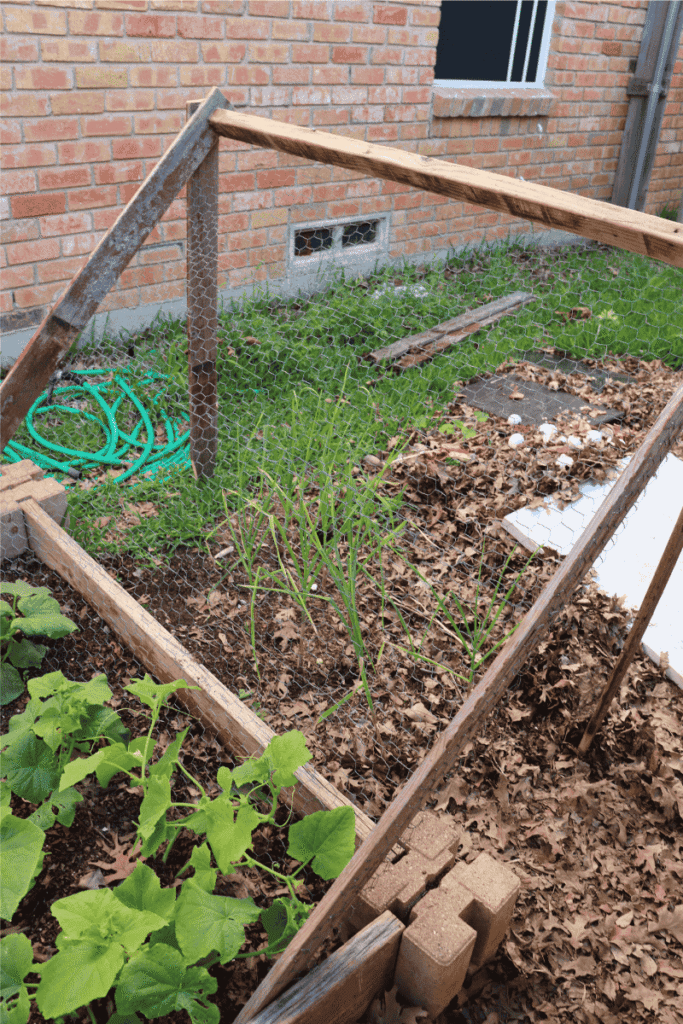
- Set Trellis in Garden
Your DIY Cucumber trellis can now be placed in your garden! Rotate the staked posts to adjust the angle of your trellis, and set it in your raised bed. Hammer it into place and enjoy! Remember this can be used for more than just cucumbers!
Need a Simple DIY Upright Trellis for Beans or Peas?
Check out our tutorial for making an even easier upright bean trellis here!
Q & A
What kind of wood did you use?
We repurposed old fencing panels from a portion we took down last year. The crossbar was also a piece from our old fence. You can use a variety of wood types and sizes as long as you keep the basic structure the same!
Can you use something besides chickenwire?
Chickenwire is extremely easy to put up since it is already woven, but you could also use steel wire. Just crisscross it and secure it tightly to the wooden frame.
What if my chickenwire isn’t as wide as this?
You can cut your chicken wire and place it in rows on top of each other to fully cover the trellis. For example, if your wire is only 16 inches wide, cut three pieces that are 60 inches long each. Those will be the three rows you will staple in rows on the posts.
Leave a Reply